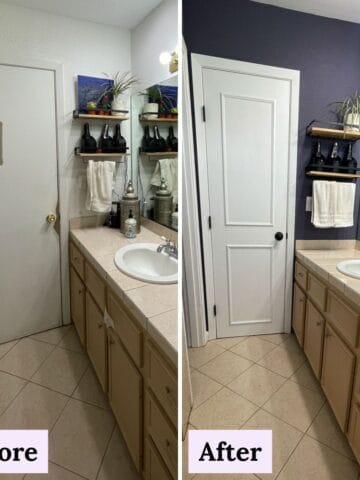
Our tiny Texas entryway needed a refresh and a place to store shoes, to help keep dust and dirt down in the house. Fresh paint, trim work and DIY shoe closet, done. Check out the before and after!

Want to save this post?
Enter your email below and get it sent straight to your inbox. Plus, I'll send you quick & simple plant-based recipes every week!
What needed to change
When Hurricane Beryl hit Houston in 2024, we lost power for 5 days. When we left to go stay with friends who still had electricity (and AC!), we didn't think to open our closets. We came back to mold in our front closet and hallway closet. Lots of cleanup and remediation later, we still dealt with musty odors in the front closet. So, we decided to take off the door completely, just like we did to our bathroom closet.
The white paint on the trim and walls of the closet was tired and hadn't been painted in 15 years. The yellow paint needed a refresh after 15 years.
The closet needed to be converted into a shoe closet, with lots of shelves! We also wanted to be able to store hats and our umbrella stand inside the closet to keep the small entryway open for walking through.
Supplies
- 1 Gallon James Alexander Thrive Paint - Color: Milchkaffee (for the walls, a quart would've been enough, but it only comes in sample size or gallons) - $84 retail (sponsored by James Alexander)
- 1 Gallon ECOS Semi-Gloss Trim Paint - Color: Vigilant (for the closet walls and shelves - this was also used to paint our interior hallway doors) - $99
- 1 Gallon Ecos Semi-Gloss Trim Paint - White (for the trim - we used this same gallon to paint the trim in the rest of the house, too) - $99
- 8 Pine Stair treads 48" wide, to be used as the shelves, since they already have the rounded front. - $14 each, so $112 total
- 8 planks of 1"x2" wood, for the shelving supports - $1.40 each, so $11.20 total
- Trim Head Construction Screws - we used T-15 Star Drive #8 x 2 ¼" by Grip Rite - $11
- 8 ounce GoodFilla non-toxic wood filler (we used this in the hallway, also) - $12
- Krud Kutter natural cleaner (removes old latex paint and preps surface to prevent having to prime) - $8
- GRAND TOTAL: $437
- Keep in mind, most of the paint and supplies were also used for other DIY projects, so the cost was actually shared across projects.
🔨 Equipment
Here's a list of the equipment we used to help us complete this project:
Paintbrushes and paint roller
Paint roller tray and liner
Screw driver
Step stool/ladder and Powerbuilt heavy duty rolling seat for low work
Hand scraper (to smooth out bumps and lumps in the trim before painting)
Fine grit sandpaper block (or sand paper)
Dewalt Miter Saw (to cut shelving supports and shelves)
Drill (to attach supports)
The process
We tested out lots of beige and cream color paint samples from James Alexander. We wanted a color that would go with white trim, our maple wood floors, cream tiles, the off-white in our hallway and the dark green color we chose for our new living room color.
Whew!
We settled on Milchkaffee by James Alexander because the undertone worked really well with Vigilant by ECOS that we had settled on for our interior door colors and the front entry closet color.
It's more of a creamy beige with a subtle gray/green undertone than the yellow we had before. It's also more matte. I believe the old paint we used was a eggshell or semi-gloss, since we had little ones running around at the time and wanted a wall finish that was easy to clean.
But, they're much older now and [slightly] less messy. And, matte paint is so much nicer.
The trim needed a few coats of wood filler where the hinges of the door were. We then scraped and sanded them smooth and cleaned the trim with Krud Kutter before painting.
The entryway walls were painted first, before moving on to the closet.
DIY shoe closet
I haven't had a good place to store shoes and they've moved several places over the years. Also, I love the idea of taking off my outside shoes by the door and changing into slippers or walking barefoot. This keeps floors and indoor spaces cleaner.
So, the idea was born to make the front closet a shoe and hat closet! I love how the dark warm gray color makes the closet sink back from view. It's also easier to clean since it's a dark color and we're storing shoes here.
We had an existing shelf and rod/dowel for hanging coats that we removed. We left the shelf support there since it was hefty and we didn't want to deal with the demo.
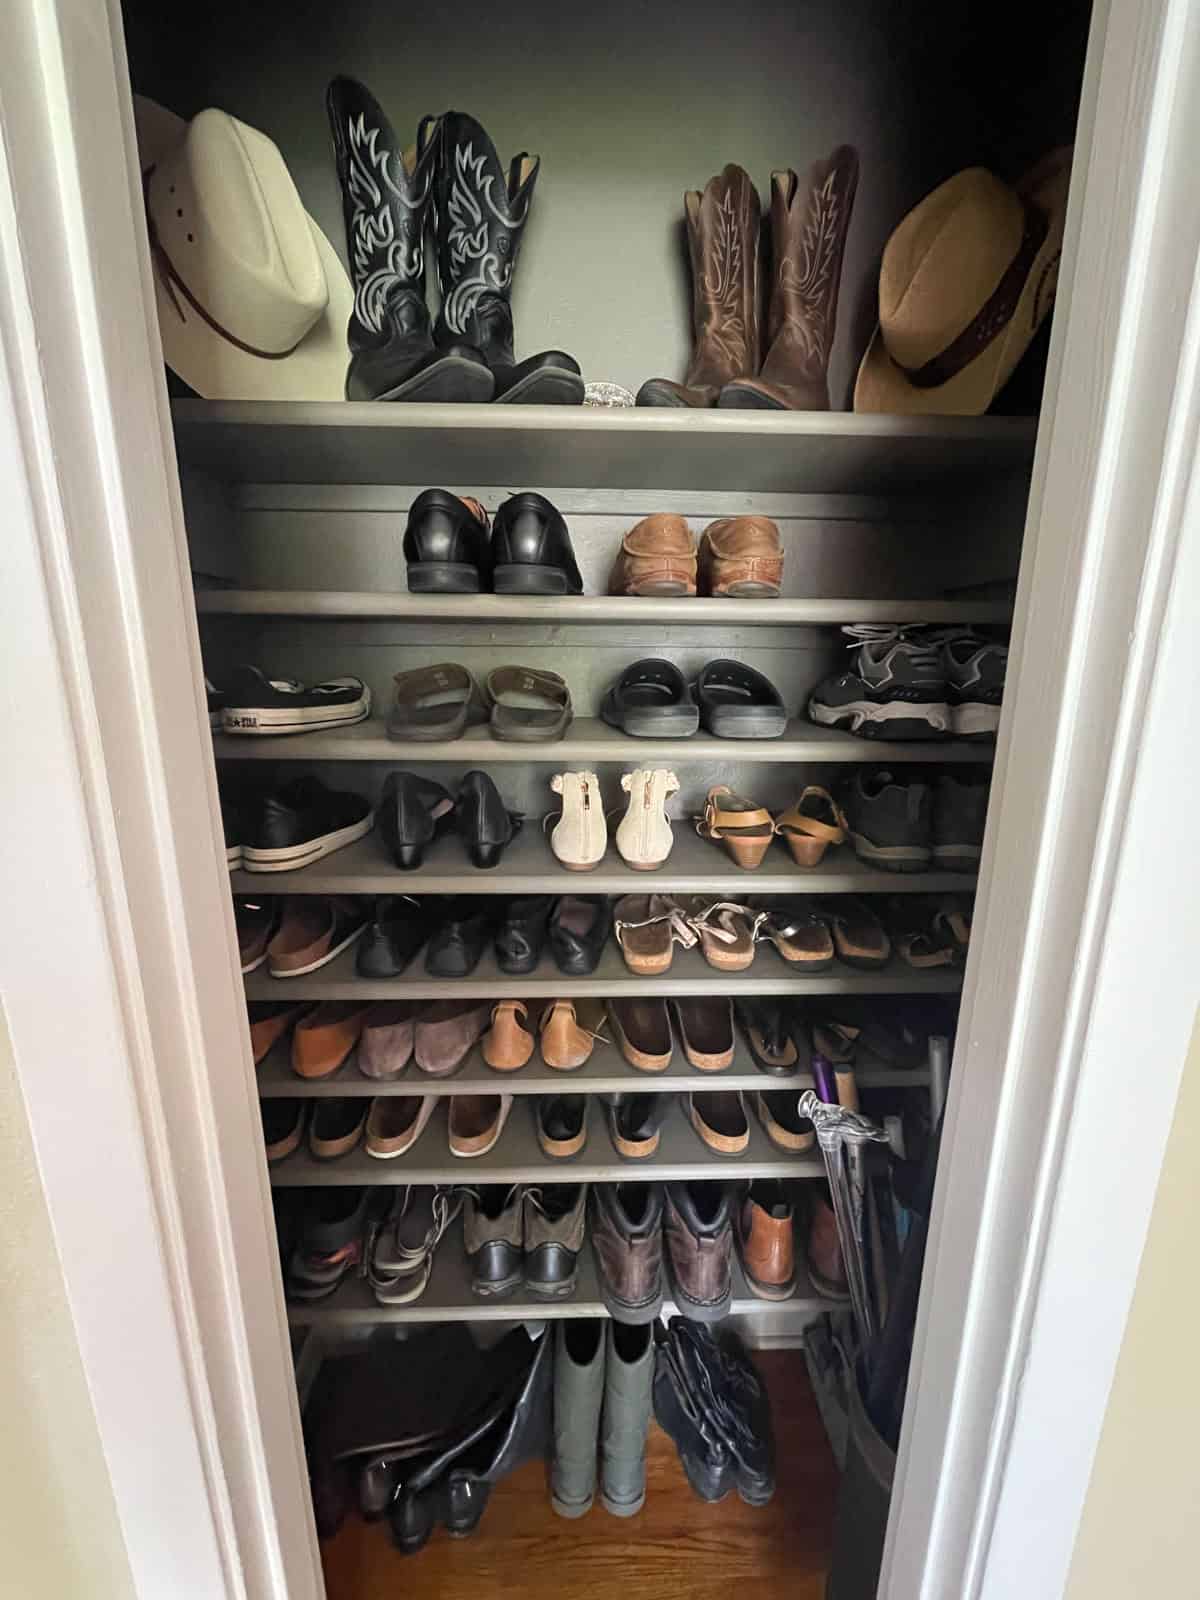
We then measured the height of the shoes we wanted to store in the closet. And, decided how many shelves we needed at each height.
For example, tall boots were stored at the top and bottom (17" height clearance). Hiking boots and work boots were stored on a bottom shelf that was slightly taller (10" high) than the shelves for dress shoes (6" high) and sandals (5" high).
My husband's shoes are stored on the top shelves so he doesn't have to bend over to reach them, due to his back injury.
I made sure that the shelves for storing sandals, like Birkenstocks and flip-flops were tall enough that I could store the shoes on their side in a shallow box or basket if there wasn't enough room to store them all flat. (I have a lot of sandals!)
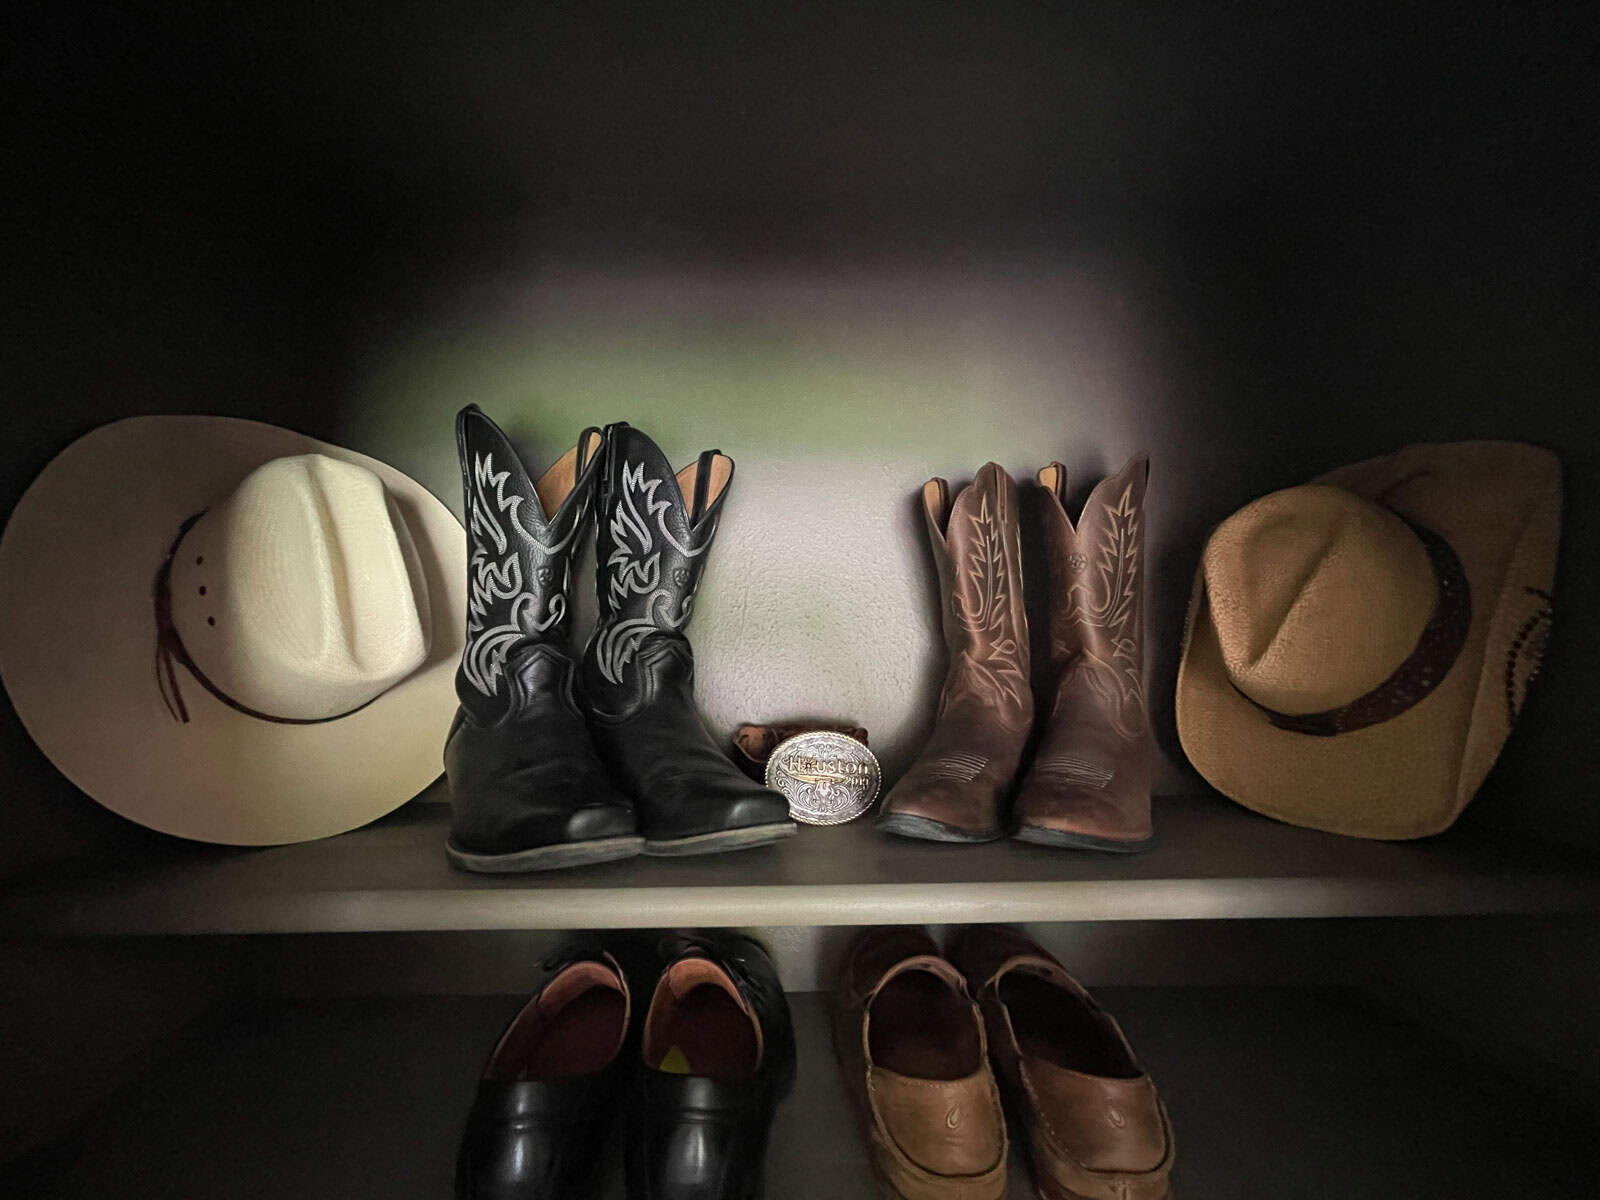
We used our handsome cowboy boots as a centerpiece on the top shelf. Part storage. Part decoration. Because, you know, we're Texans. We can't help it.

We then measured, marked and leveled a line where each shelf would go. We cut the support pieces with a miter saw to be 1" shorter than the shelf depth and cut the front edge at a 45º angle, so they wouldn't be as noticeable.
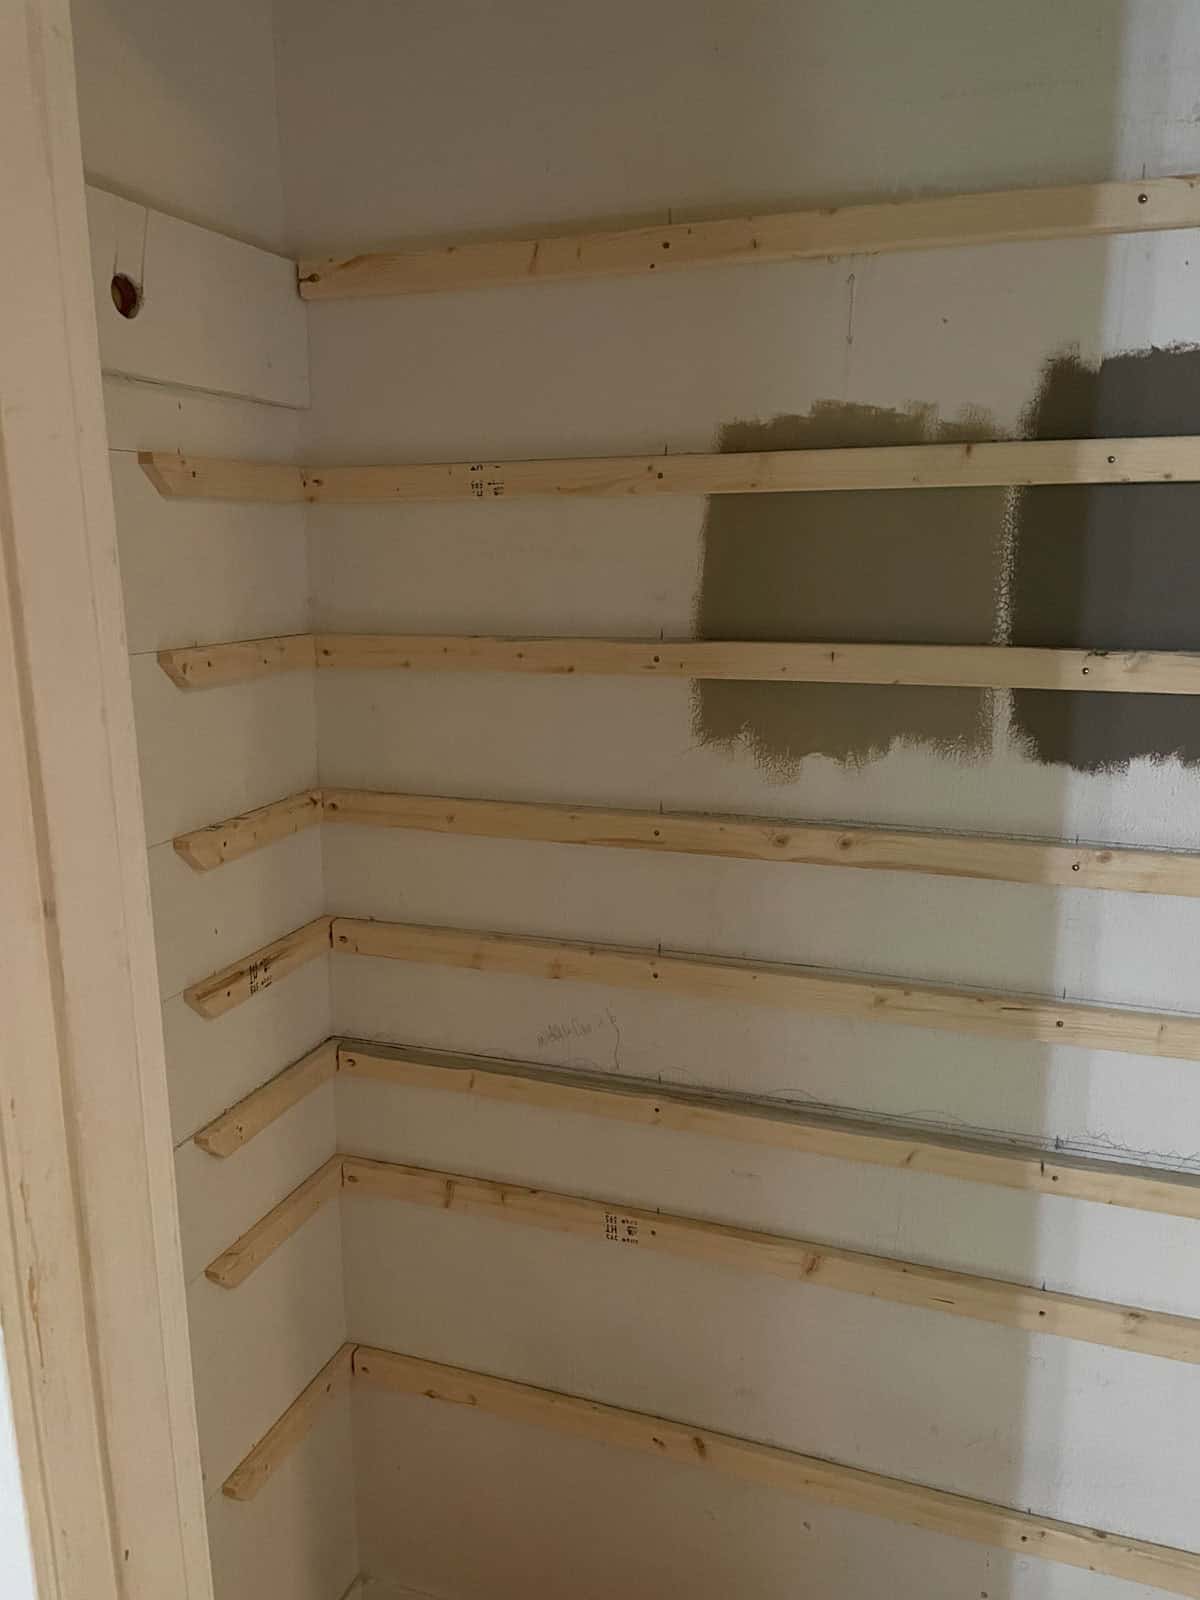
They were secured with screws into the studs.
We then measured, marked and cut the shelves ¼" shorter than the width of the closet, using our miter saw, so the shelves would go into place easily.
We painted the closet walls and shelves separately and allowed them to completely dry, before installing them.

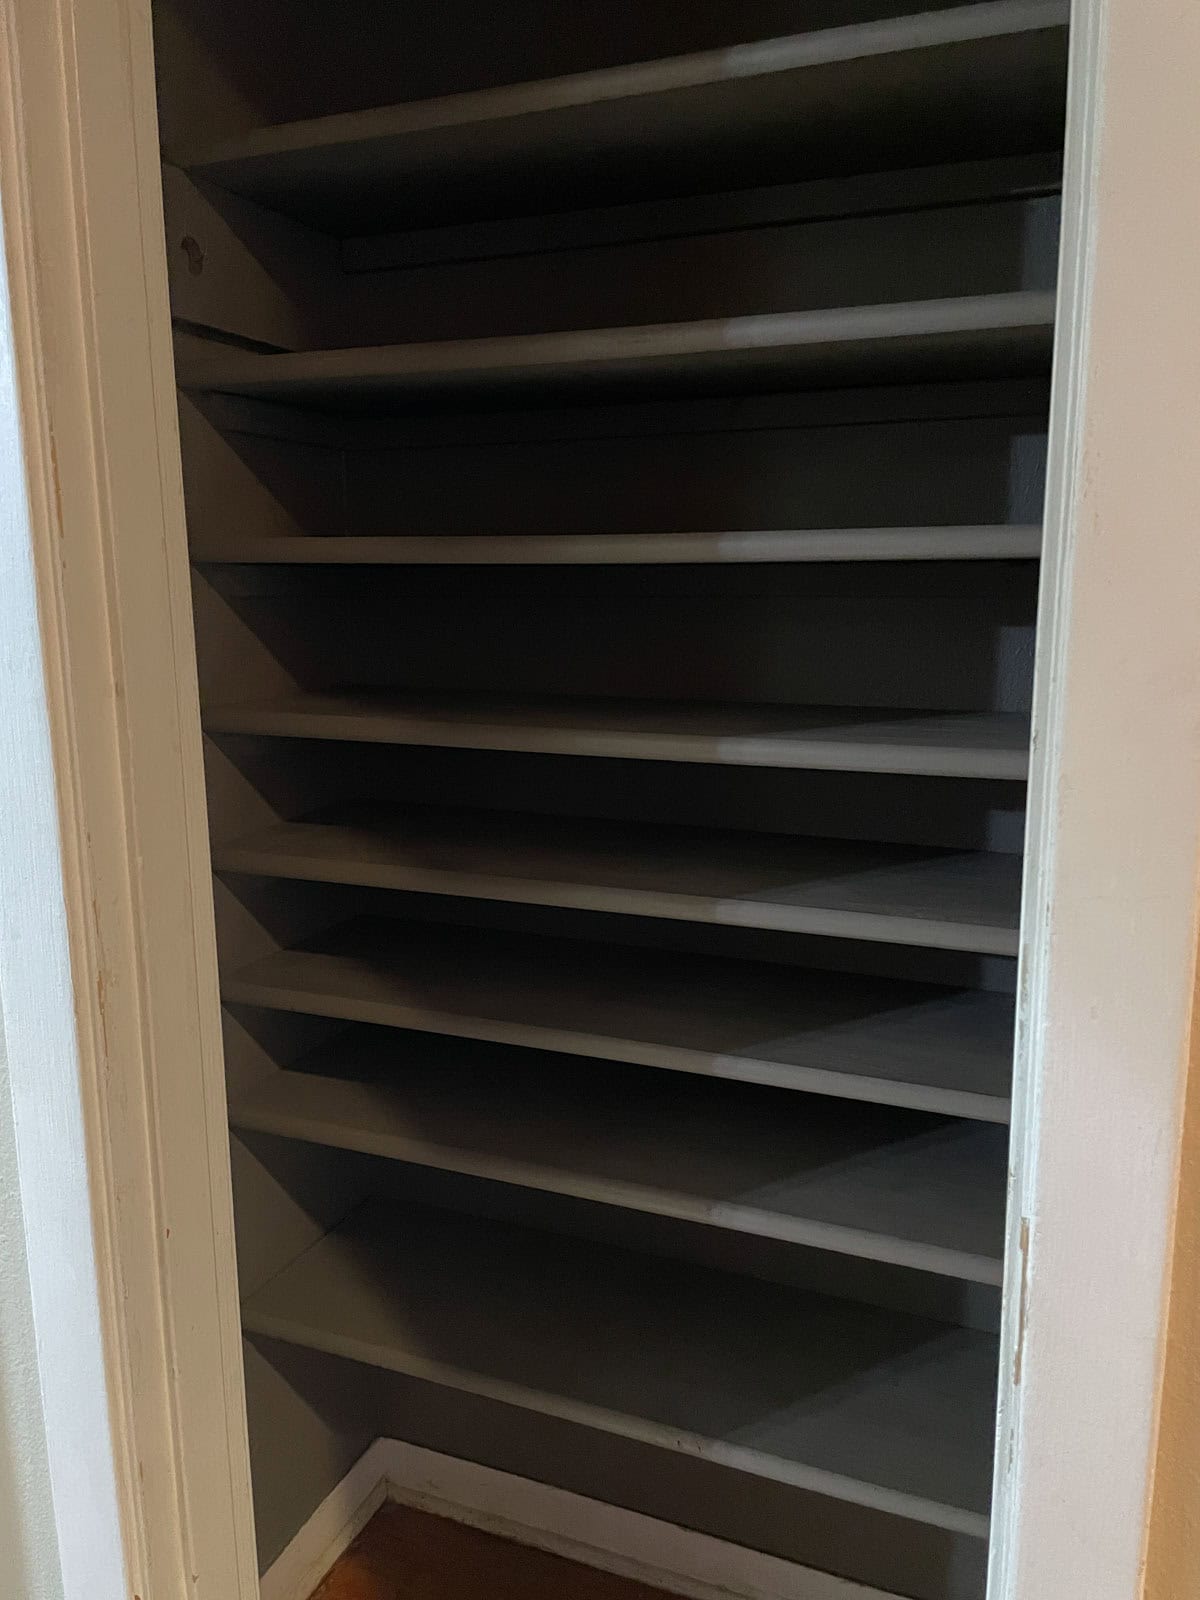
After the shelves were installed, it was time to put away all the shoes!
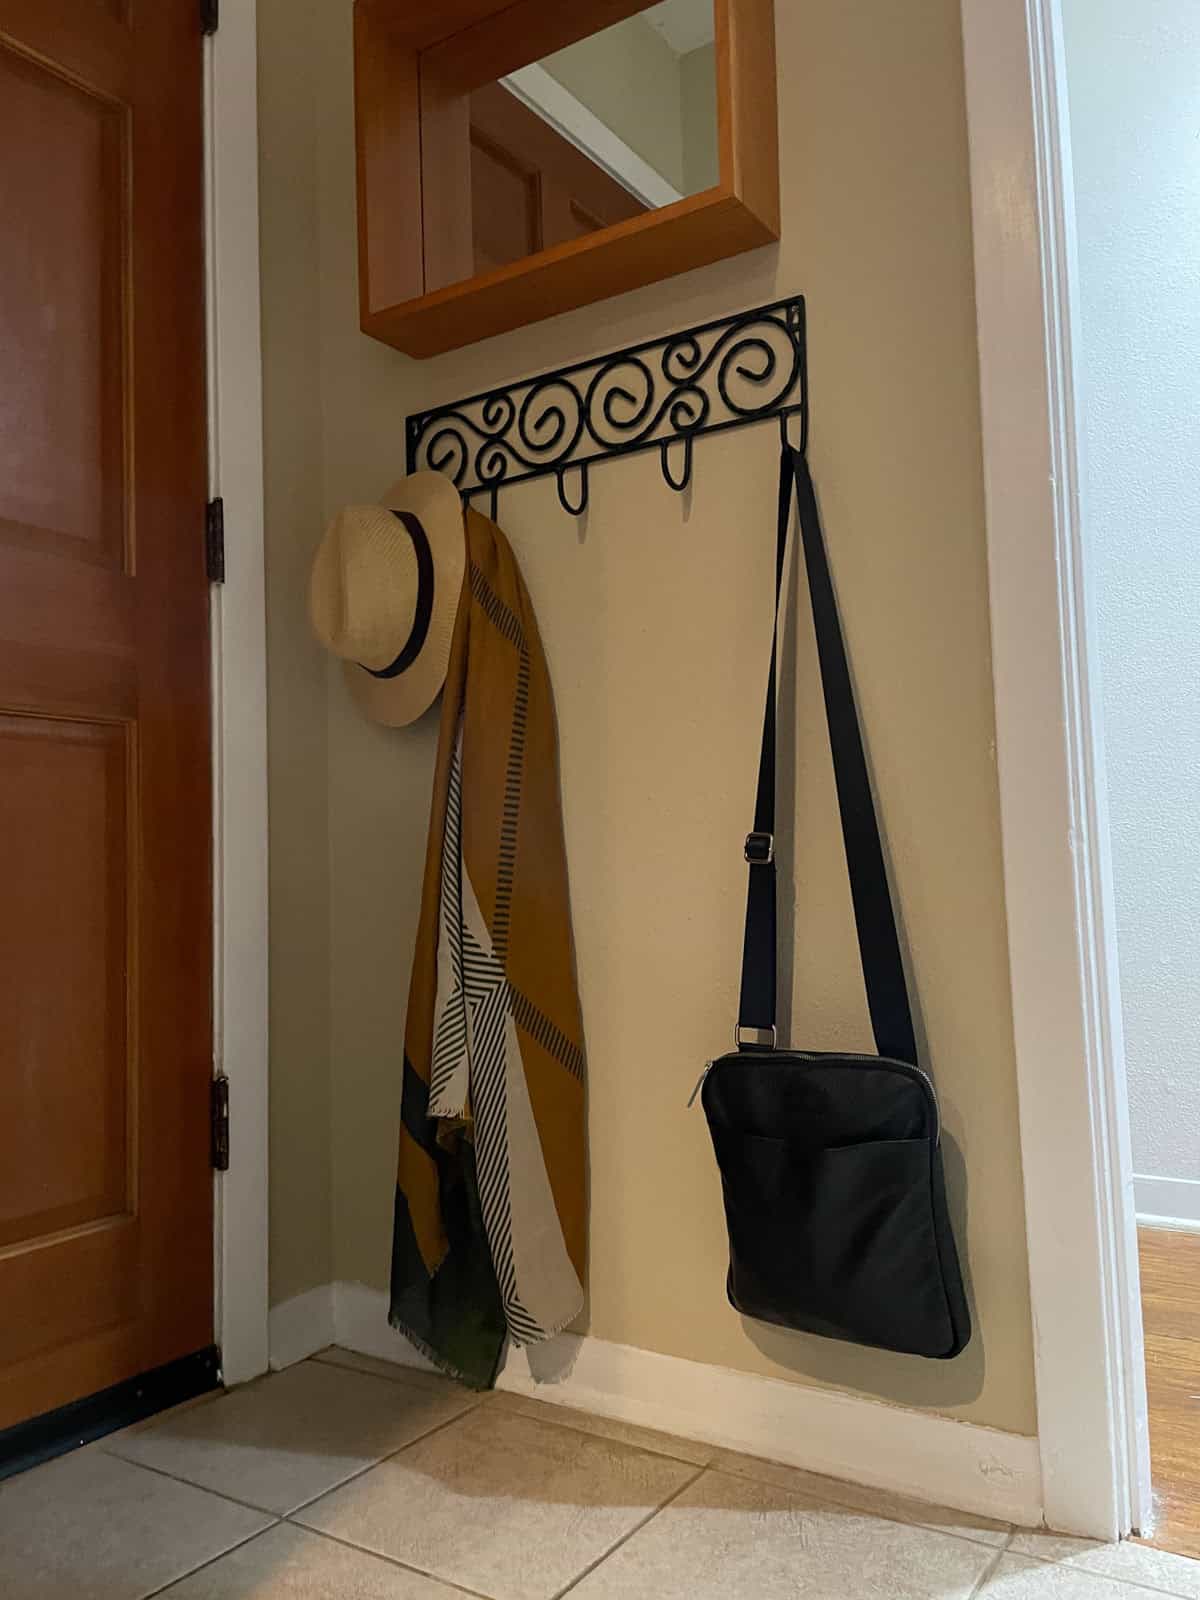
The umbrella stand fit perfectly on the right side inside the closet. And, we used a "behind the door" hanging hook strip we used to have on the closet door that was removed to hang baseball caps.
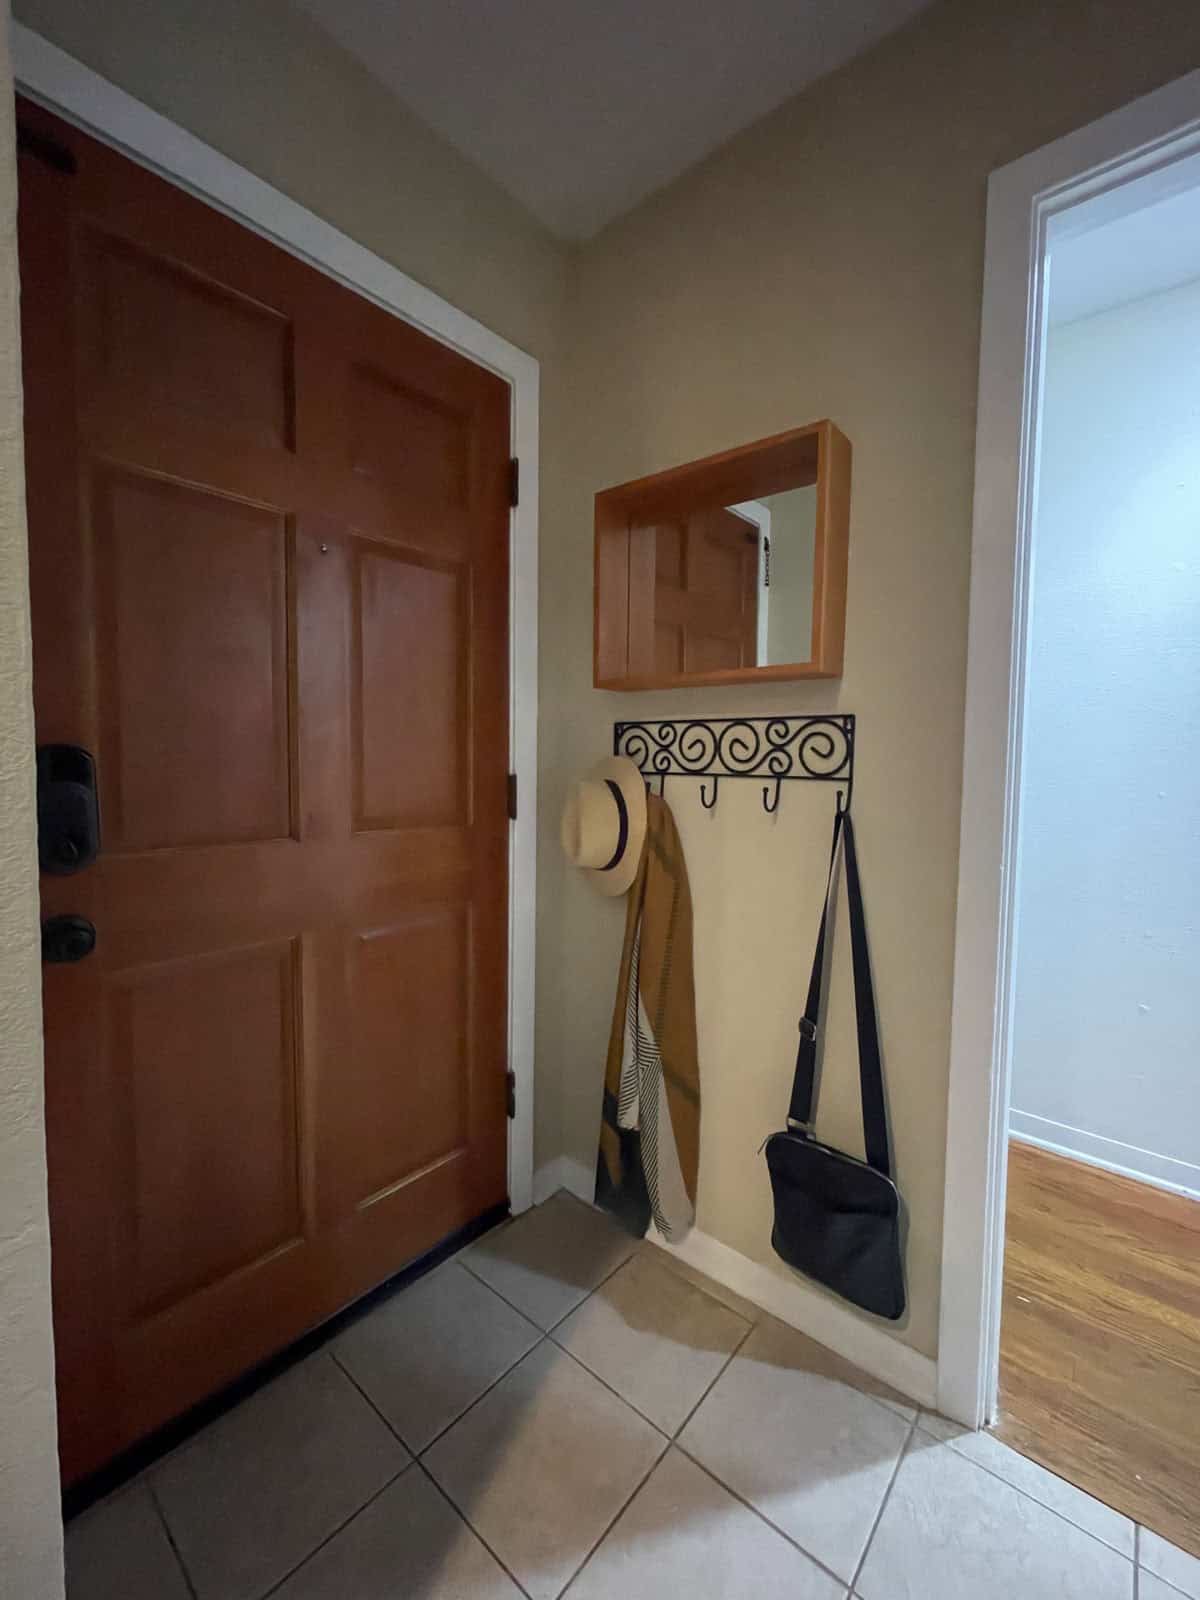
We replaced the existing mirror and hook rack on the wall in the entry way. And, it's all done!
Before and after photos


Comments
No Comments