Can't find pita chips that aren't loaded with oil? Make your own fat free pita chips at home in just a few minutes.
Want to save this post?
Enter your email below and get it sent straight to your inbox. Plus, I'll send you quick & simple plant-based recipes every week!
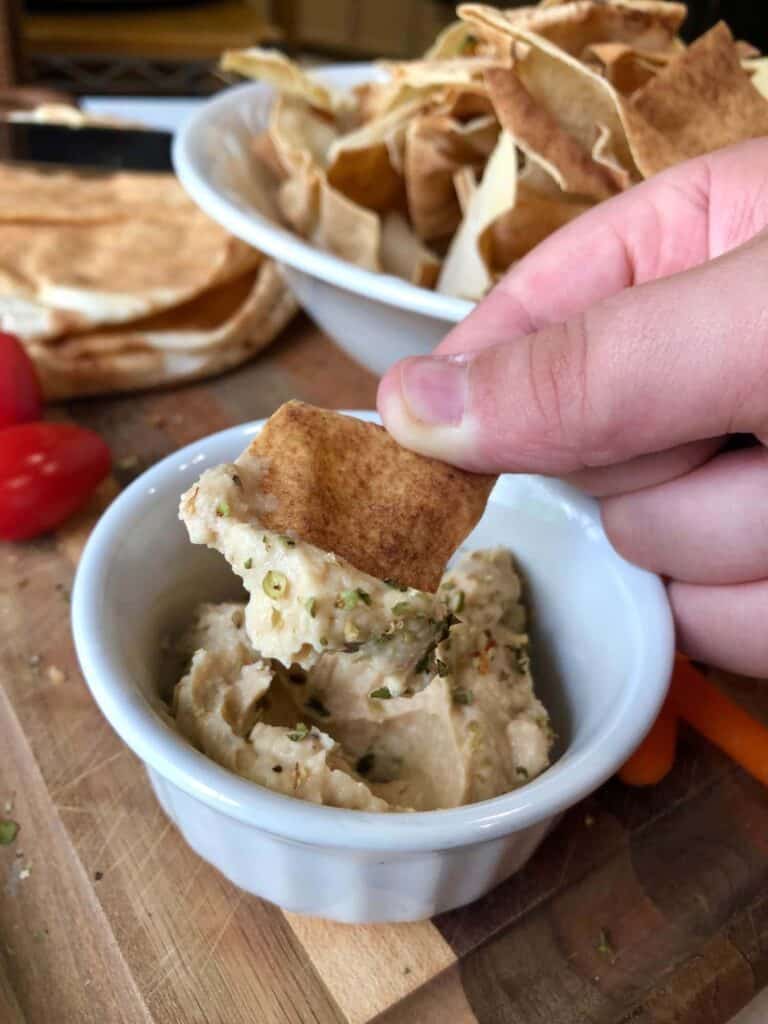
Hummus is such fantastic healthy snack food. Eat it with raw carrots, cucumber, cherry tomatoes, sweet bell peppers and you have an uber-healthy snack.
Sometimes, though, you just want a CHIP. Okay, maybe many, many chips. Something crunchy. So crunchy you have to turn up the TV.
These are those chips. We even did a very official "crunch test".
Officially, these homemade pita chips, although healthy, fat-free and oil free, are crunchy enough to annoy your family. So, there.
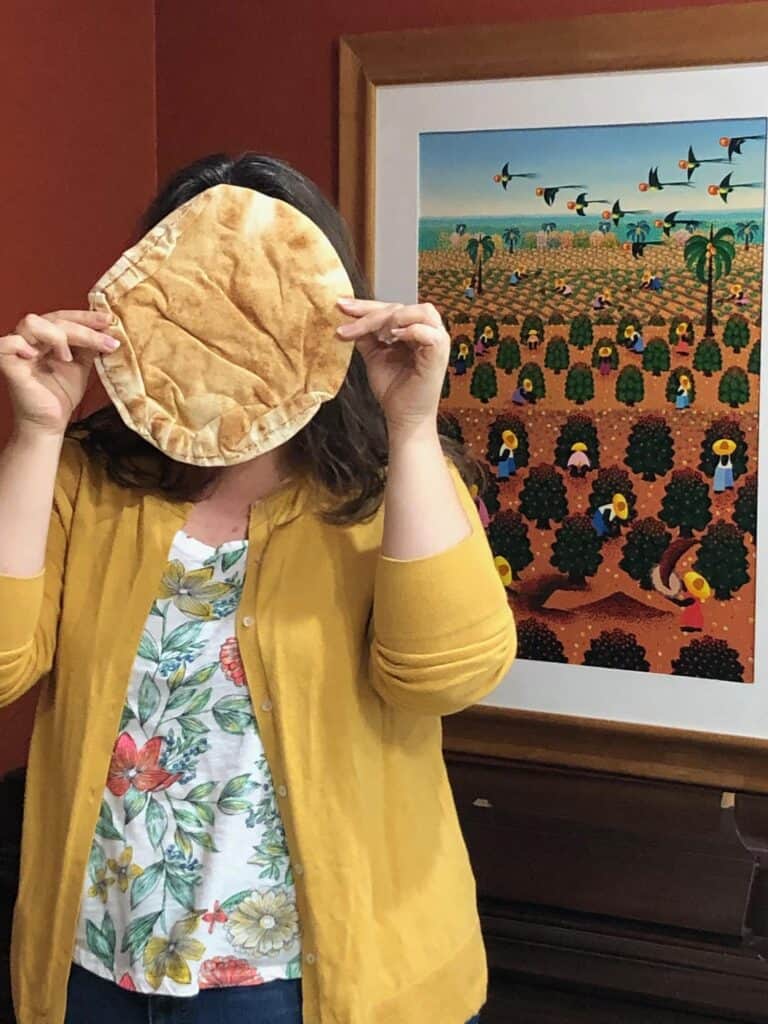
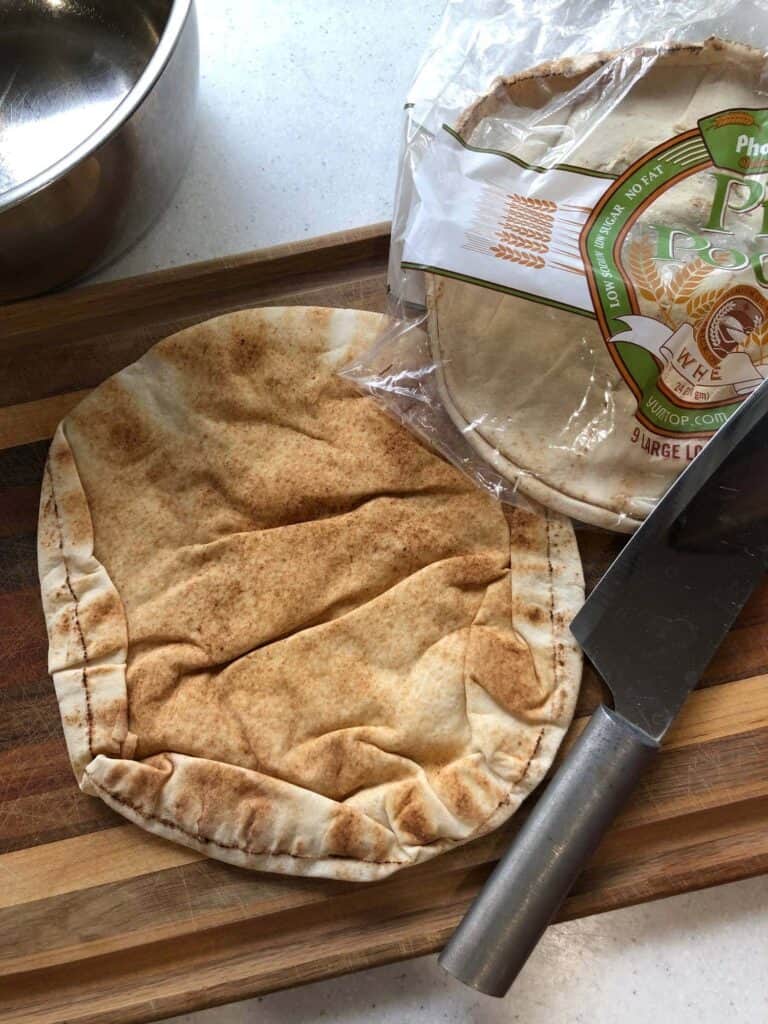
Thankfully, most pita breads are already vegan and don't contain oil. Some brands do, so be sure to check. You can use whole wheat or white pita, whichever you prefer.
Whole wheat is a healthier option, but isn't always available. This recipe works for either type.
The thinner the pita bread, the less time it will take to bake and the crunchier the final product will be.
🔄 Variations
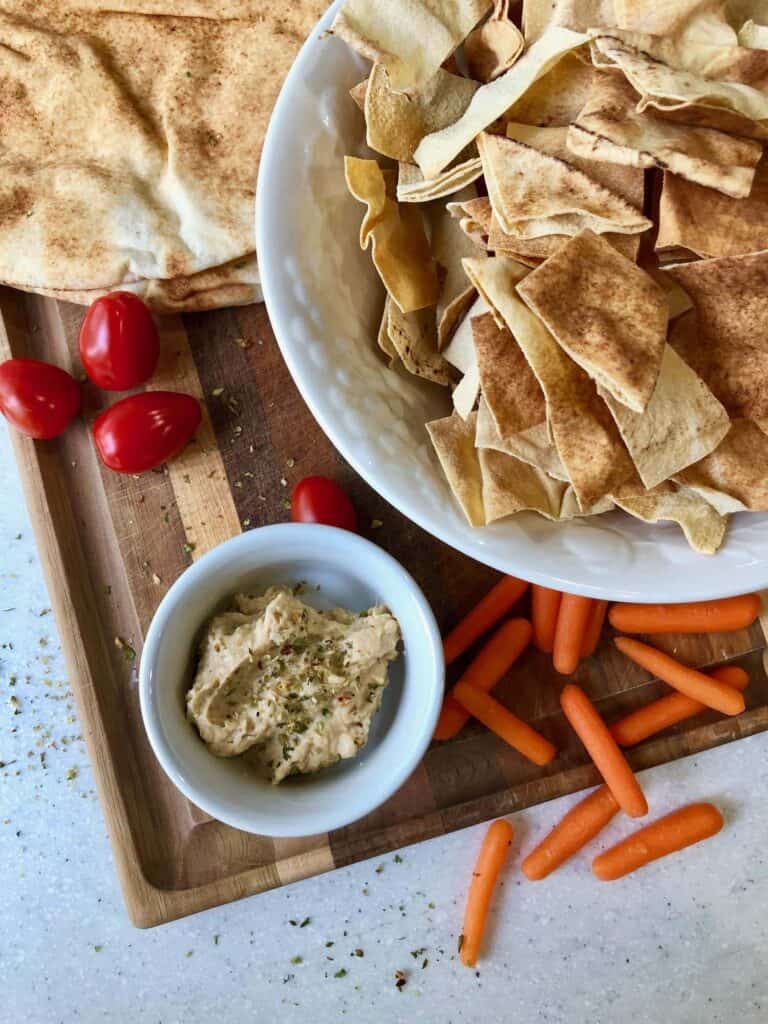
Baked pita chips, three ways! We made these healthy chips three ways and regardless of size, they get crispy.
- Plain, cut in squares (a la popular Stacy's brand)
- Seasoned, cut in triangles
- Seasoned, cut into halves or fourths (which I like to call pita tostadas)
Plain, cut into squares
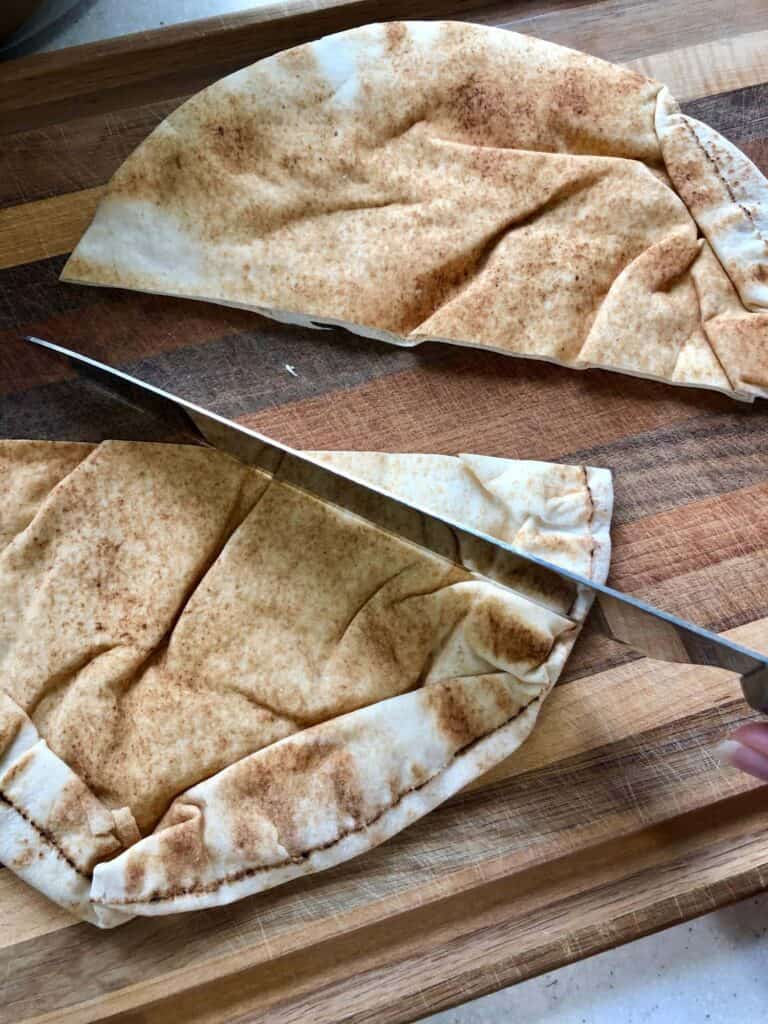
To make these, first cut your pita bread into 3-4 strips lengthwise, about 3 inches wide. Then, stack the strips and cut them into pieces about 3 inches wide. I find that using a large chef's or santoku knife works best.
You will end up with roughly 3 inch pita squares. Don't worry about the end pieces being smaller or different shapes. They'll bake up just the same.
Arrange them on a baking sheet in one layer (do not overlap the pieces). Then, bake for 10 minutes in a 400 F degree oven.
Check on your pita chips and if they still feel a little flexible when you press down on one of the thicker pieces, bake for another 2-3 minutes.
If your pita bread is thick, it may take longer to crisp up. Just keep an eye on it and check it every 2-3 minutes until they are crunchy and not flexible.
Seasoned, cut into triangles
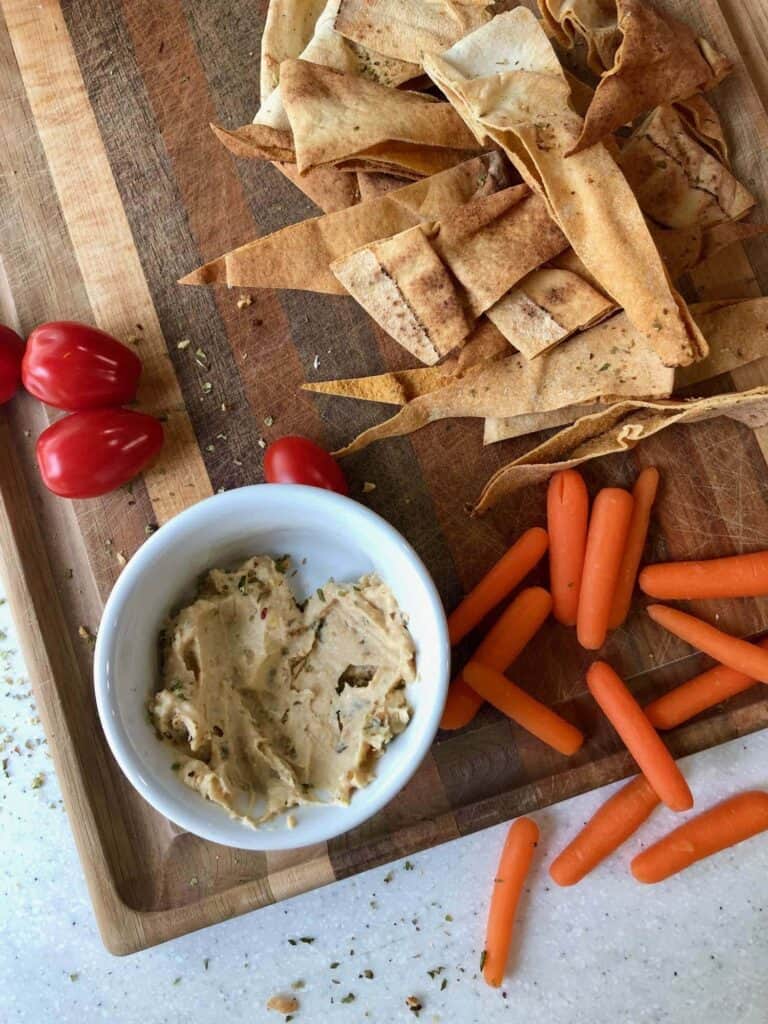
To make these triangle-shaped pita chips, first cut each slice of pita bread into 8-10 triangles. Cut up as many as will fit on your baking tray, in a single layer.
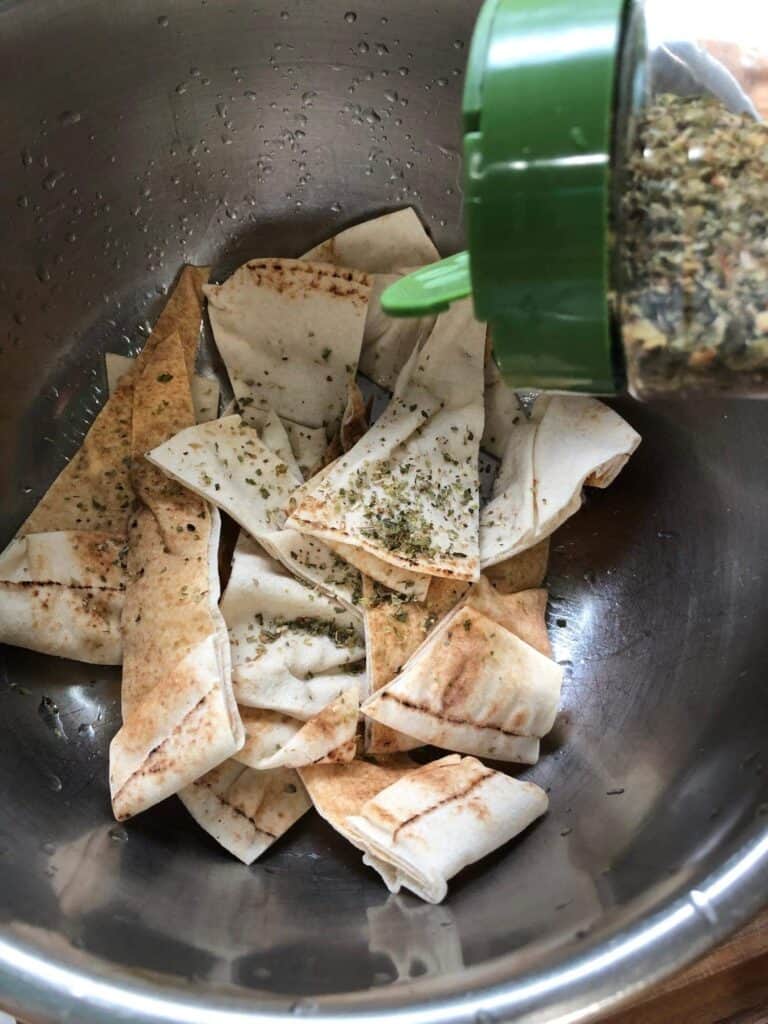
To season them, you'll need to lightly wet them with water, to get your seasonings to stick. Don't worry, the water will evaporate when they are baked.
Sprinkle or lightly brush your slices with water. Then, sprinkle on your seasoning. You can do this on the baking sheet or in a bowl.
Greek seasoning and za'atar are both good options. But, you can use whatever seasoning you like.
Once they are seasoned, bake for 10 minutes in a 400 F degree oven.
Check on your pita chips and if they still feel a little flexible when you press down on one of the thicker areas, bake for another 2-3 minutes.
If your pita bread is thick, it may take longer to crisp up. Just keep an eye on it and check it every 2-3 minutes until they are crunchy and not flexible.
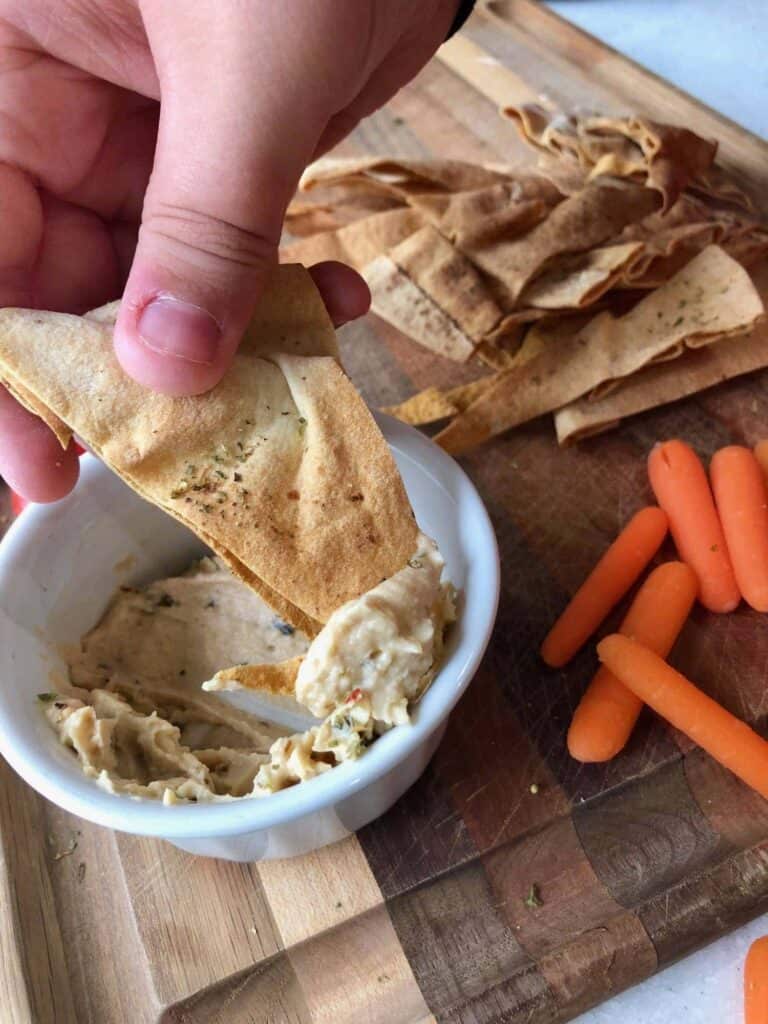
Seasoned Pita Tostadas
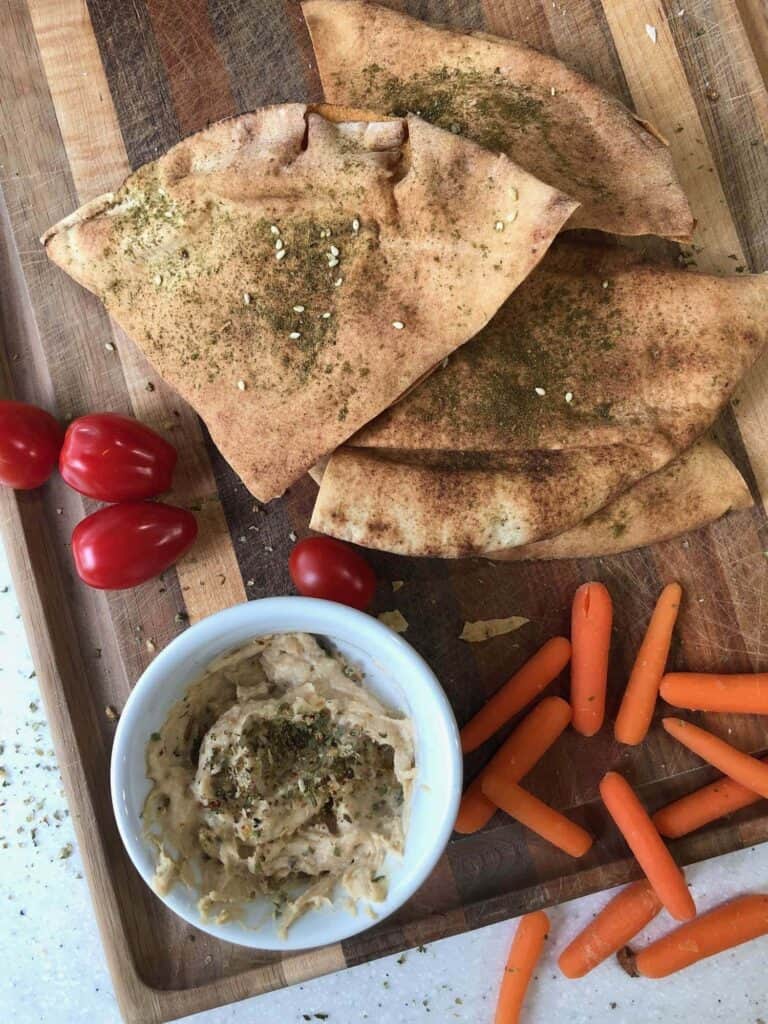
Tostadas are typically corn tortillas that have been fried or baked until crispy. Then, they are topped with layers of texmex deliciousness, like refried beans, guacamole, sour cream, pico de gallo, lettuce, tomato and more. (If I'm put you in a texmex frame of mind, check out my homemade healthy fat free tortilla chips and easy vegan chile con queso nacho cheese recipes.)
I was so excited to learn that large pieces of pita crisp up just like their smaller, chippy counterparts. Voila, homemade pita tostadas!
The pita I have is large, thin pita I bought from Phoenicia's, one of my favorite foodie spots in Houston. So, I cut it in fourths. If you're using smaller pita, feel free to bake the entire piece whole or just cut it into halves.
Once you have it the size you want, lightly brush the top with water and then generously sprinkle on your seasoning.
Arrange on a baking tray in a single layer (do not overlap). Then, bake for 10 minutes in a 400 F degree oven.
Check on your pita tostadas and if they still feel a little flexible when you press down on one of the thicker areas, bake for another 2-3 minutes.
If your pita bread is thick, it may take longer to crisp up. Just keep an eye on it and check it every 2-3 minutes until they are crunchy and not flexible.
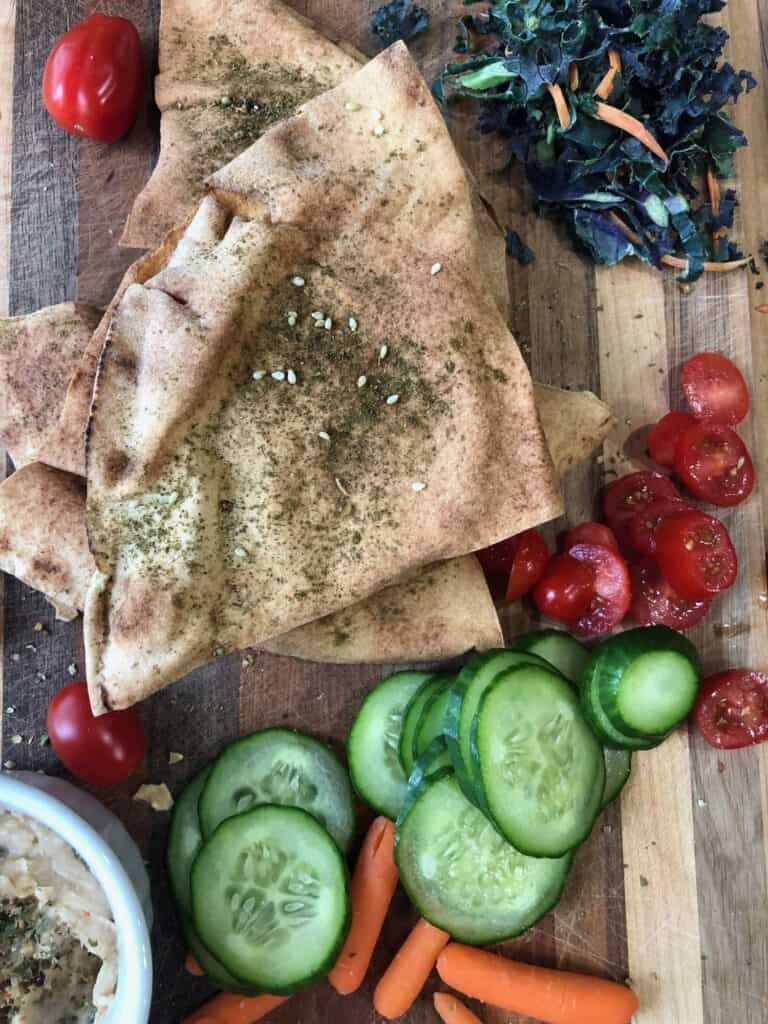
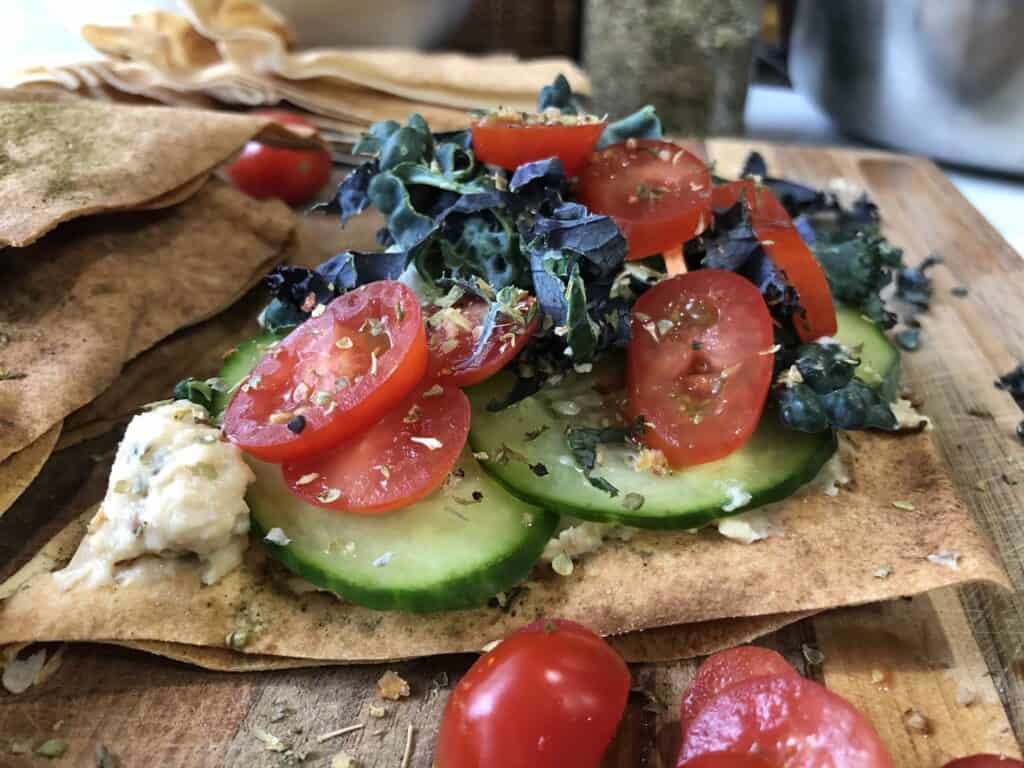
To make it a meal, try layering on top some homemade oil-free hummus, sliced cucumber, bell pepper, tomato, olives, capers, sun-dried tomatoes, lettuce or spinach and drizzle with some tahini and lemon juice. YUM.

💭 Tips
How to store your homemade baked pita chips
Allow your baked pita chips to cool completely before storing. Once they have cooled, you can store them in an airtight container for 1-2 weeks.
I hope you enjoy your healthy homemade pita chips that have absolutely no oil!
Don't mind me over here. Crunch, crunch, crunch.
💜 More recipes you'll love
Love this recipe? Please rate it 5 stars ⭐️⭐️⭐️⭐️⭐️ below in the recipe card. And, if you make it, please tag me on Instagram or Facebook in your posted photos! I would love to see your creations. 😄
📖 Recipe

Healthy Homemade Pita Chips (fat-free, no oil)
Ingredients
- 2 pieces pita bread
- 1-2 teaspoons water for making seasoning stick, optional
- a pinch salt
- za'atar, Greek seasoning or other seasoning to your liking optional
Instructions
- Preheat oven to 400 F.
- To make square pita chips, first cut your pita bread into 3-4 strips lengthwise, about 3 inches wide. Then, stack the strips and cut them into pieces about 3 inches wide. I find that using a large chef's or santoku knife works best, so you can press down on the knife with both hands.
- You will end up with roughly 3 inch pita squares. Don't worry about the end pieces being smaller or different shapes. They'll bake up just the same.
- If you would like to season your pita chips, *very lightly* brush or sprinkle with water, then sprinkle seasonings on top. Alternatively, you could gently toss the pita in a bowl with a little water and the seasonings to coat.
- Arrange them on a baking sheet in one layer (do not overlap the pieces).
- Bake for 10 minutes in a 400 F degree oven. Check on your pita chips and if they still feel a little flexible when you press down on one of the thicker pieces, bake for another 2-3 minutes.
- If your pita bread is thick, it may take longer to crisp up. Just keep an eye on it and check it every 2-3 minutes until they are crunchy and not flexible.



Melanie says
I've been WF PB for about a month and a half and was seriously missing oil. I've been making my own pita chips but could not get salt or any other seasoning to adhere to them without the oil. I hadn't thought of using water.
Made this today and was really pleased with the results. Finally, salt on my tortilla chips! They didn't seem to take any longer to cook with the water added. Thank you!
Abi Cowell says
Yay!!!!! It's the little things that make the difference, right? I'm so glad I could help with that little tip. 🙂
Marilea Johnson says
We just got an air fryer and OMG the cinnamon chips are da bomb!!! But the way I made them was with non dairy butter. I would like to find an alternative and there wasnt a lot of sites offering suggestions. I figured I could use water, but hadn't tried it yet. Good to see im not the only one on the same track. Thanks!
Abi Cowell says
YUM! Enjoy that air fryer and the cinnamon chips!