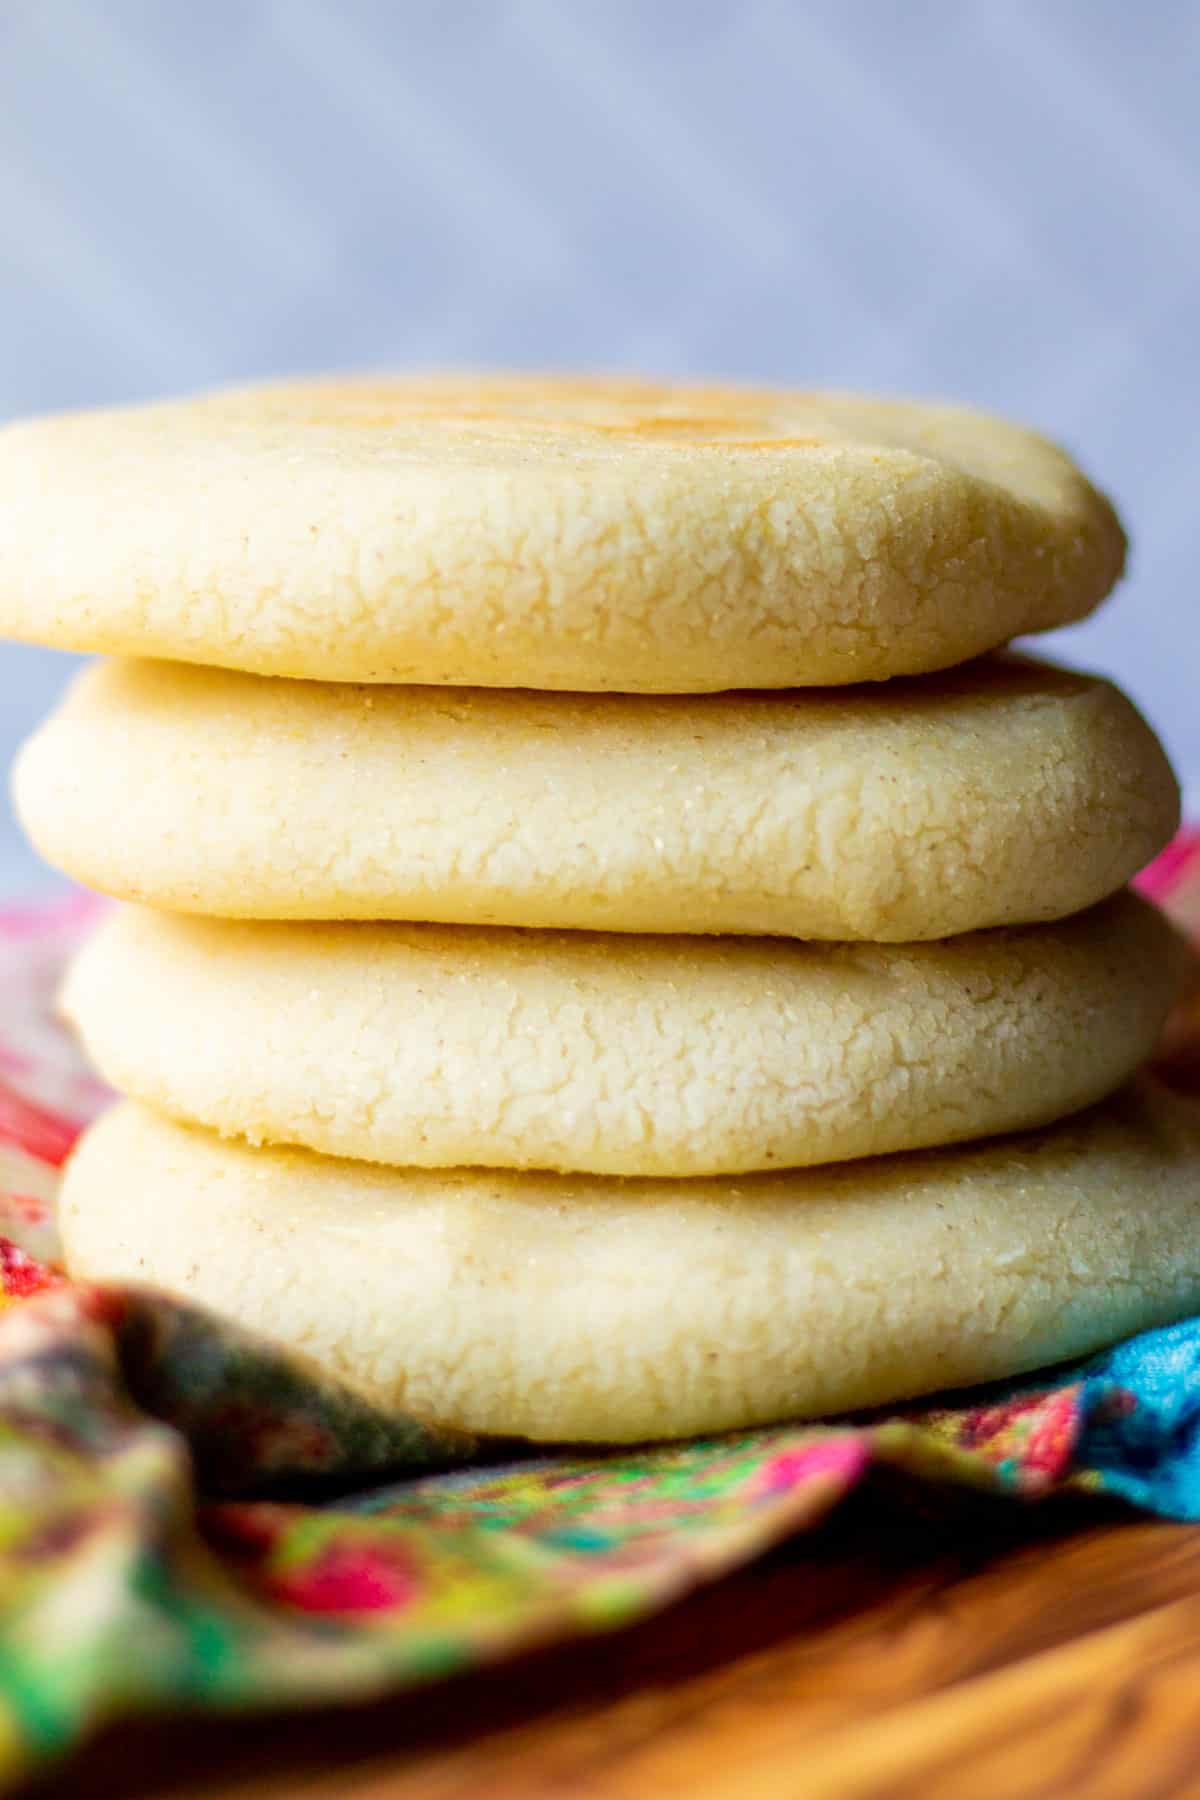
Venezuelan arepas (pronounced ah-REY-pahs) are easy to make with just one ingredient (not counting water and salt). Learn the right ratio for the arepa dough, how to shape them and how to cook them in a pan. This arepa recipe is naturally vegan, gluten-free, oil-free and dairy-free.
Want to save this post?
Enter your email below and get it sent straight to your inbox. Plus, I'll send you quick & simple plant-based recipes every week!
This authentic, traditional grilled arepa recipe was taught to me by very good friends from Venezuela, along with other Venezuelan recipes, such as guasacaca, a green cilantro sauce for arepas, reina pepiada (Venezuelan chicken avocado salad), cachapas (sweet corn pancakes) and more.
Jump to:
🧄 Ingredient notes
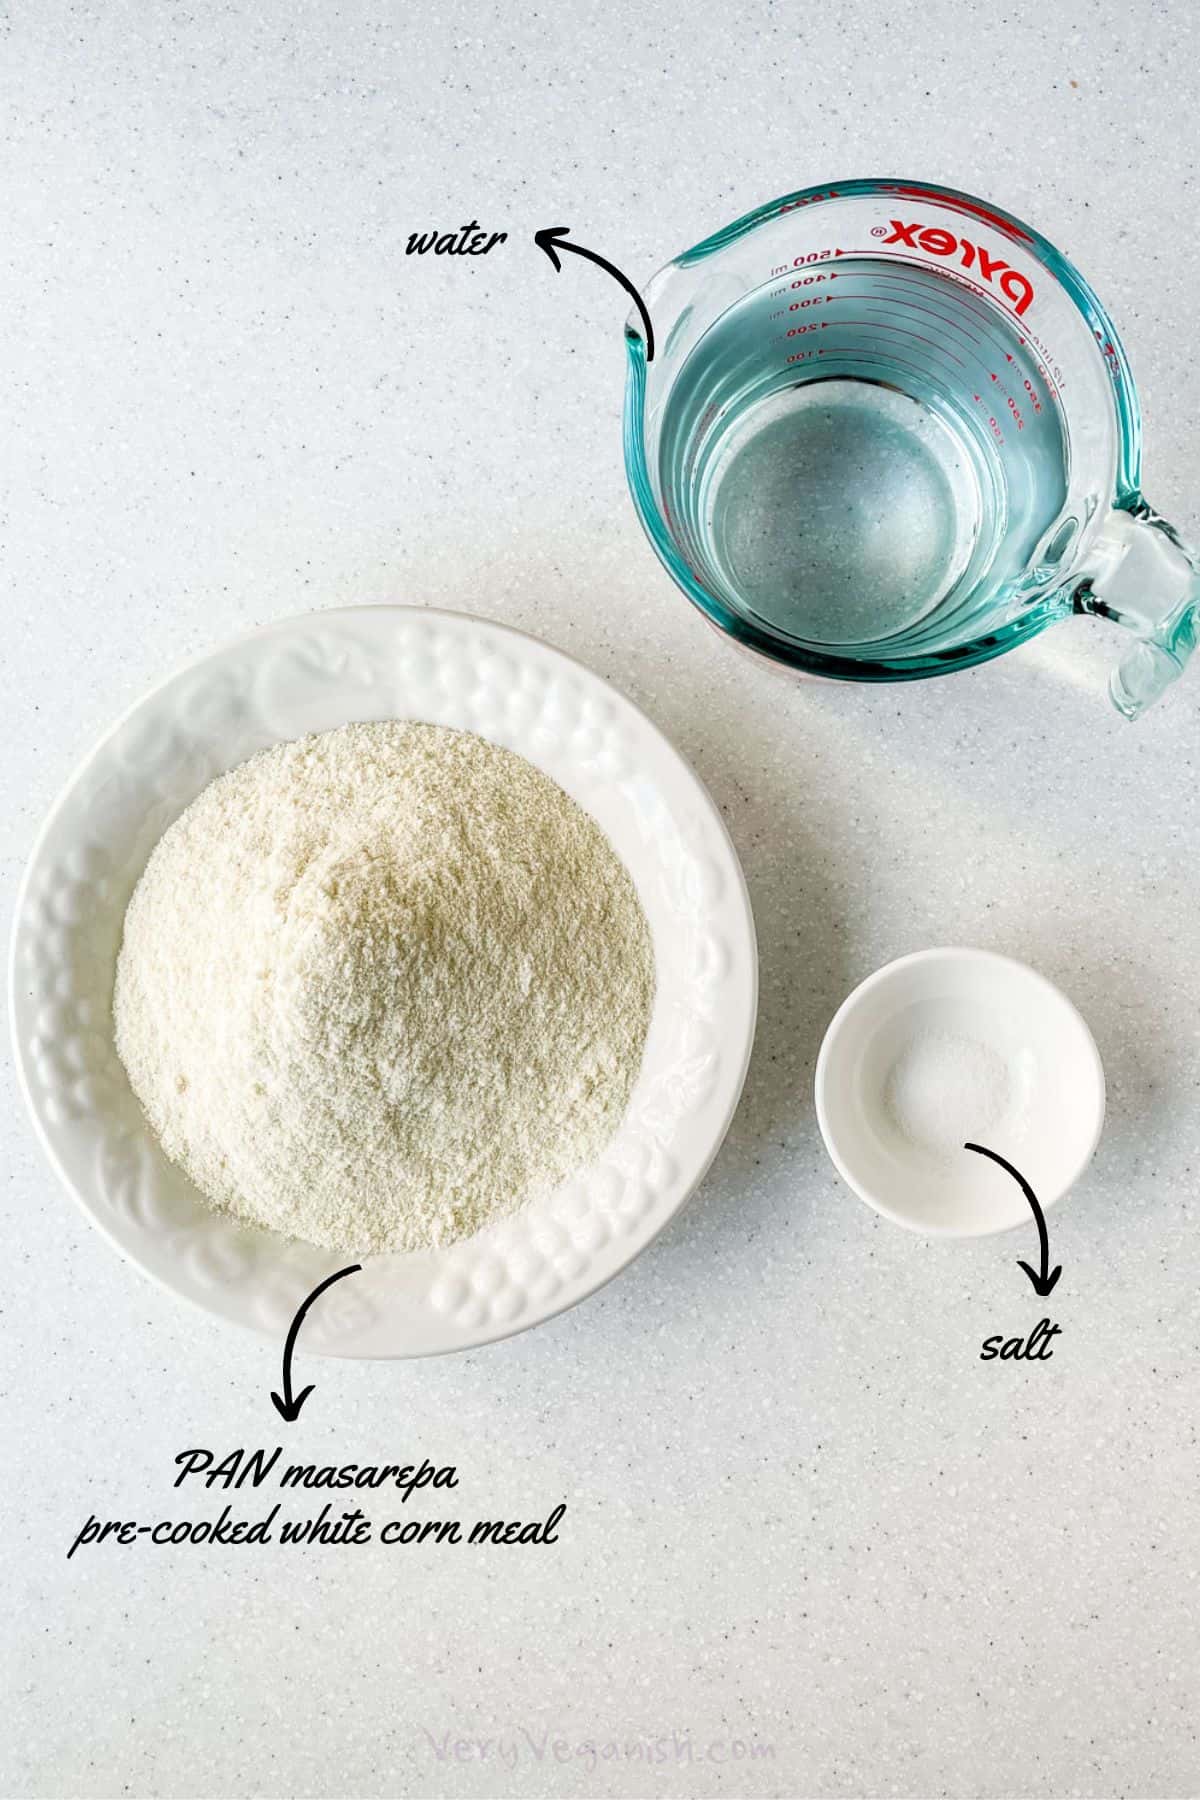
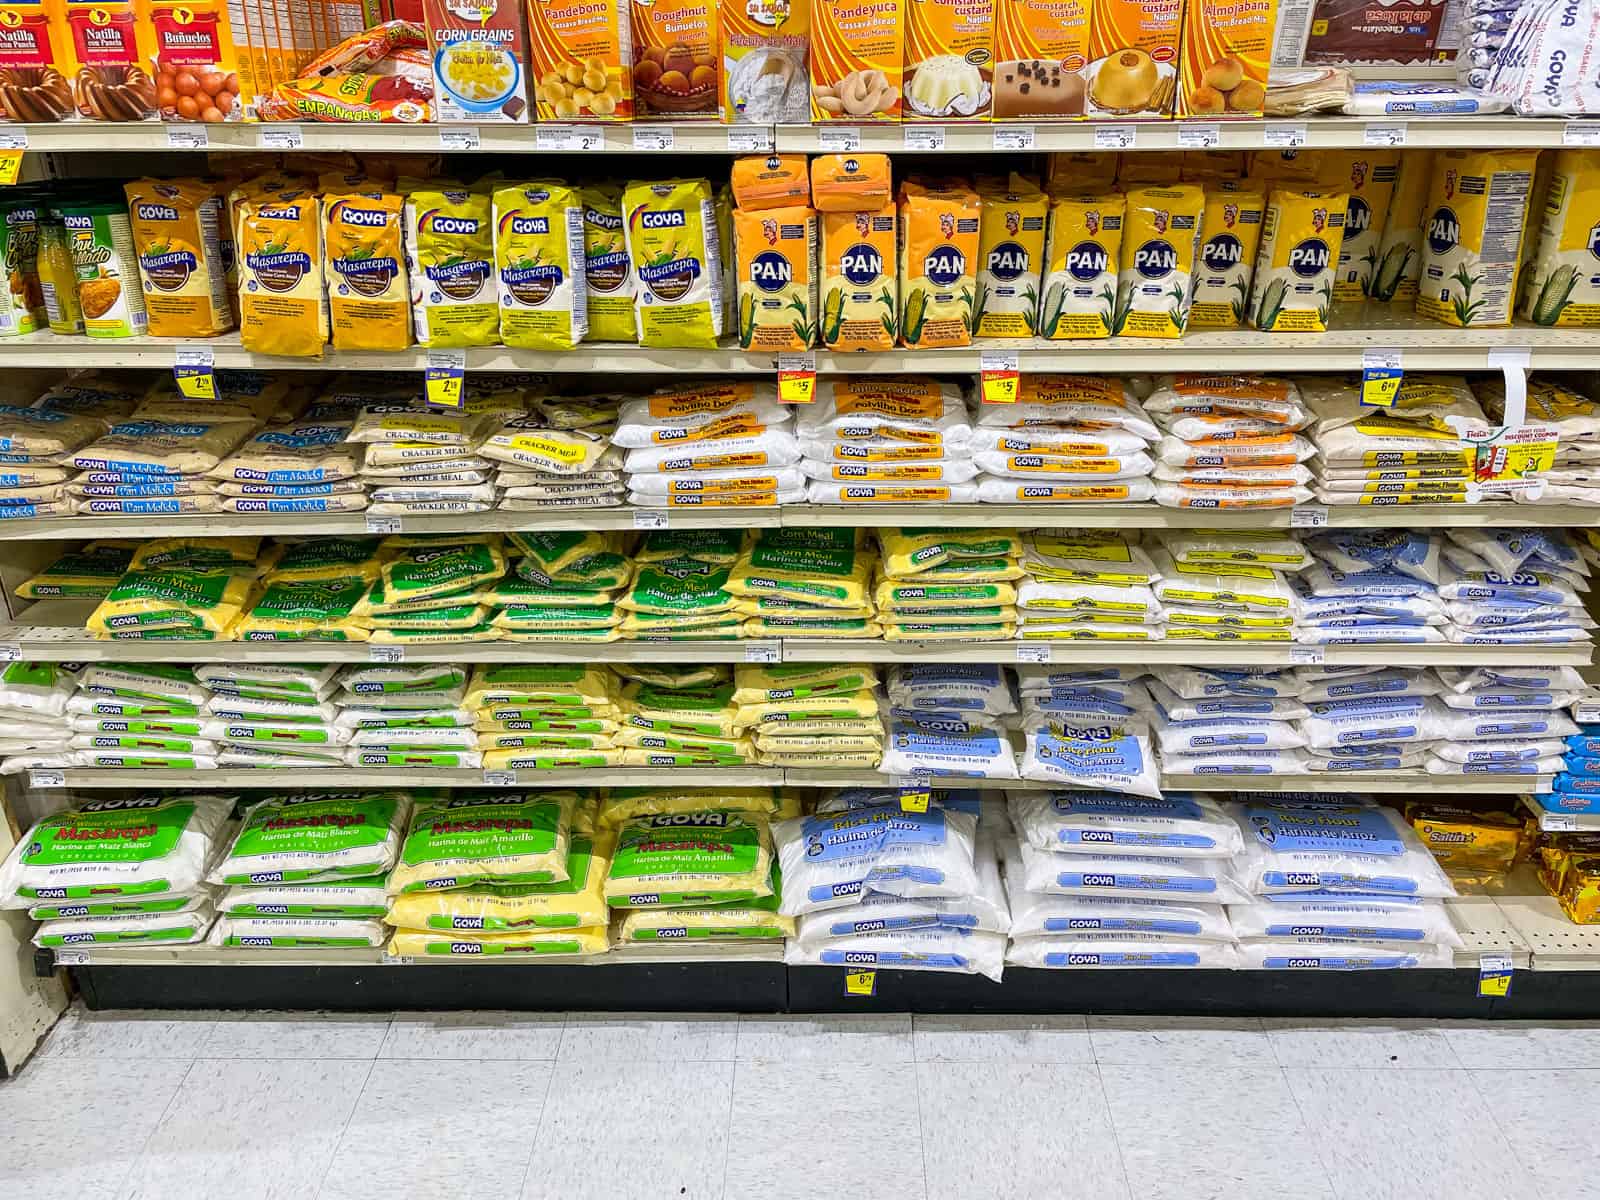
- PAN Masarepa - the most important and only ingredient in making arepas (not including water and salt) is the flour or harina pan. It is a special corn meal that has been pre-cooked. Look for PAN (see photo below), which is the preferred arepa flour used by Venezuelans. The white corn version is used for arepas most of the time. Another brand that makes masarepa is GOYA (see photo below). Do NOT attempt to use corn starch, corn meal for making cornbread, polenta mix, masa harina or other types of flour for making arepas. They will not work. You must use "masarepa" (loosely translated as "corn flour dough for arepas").
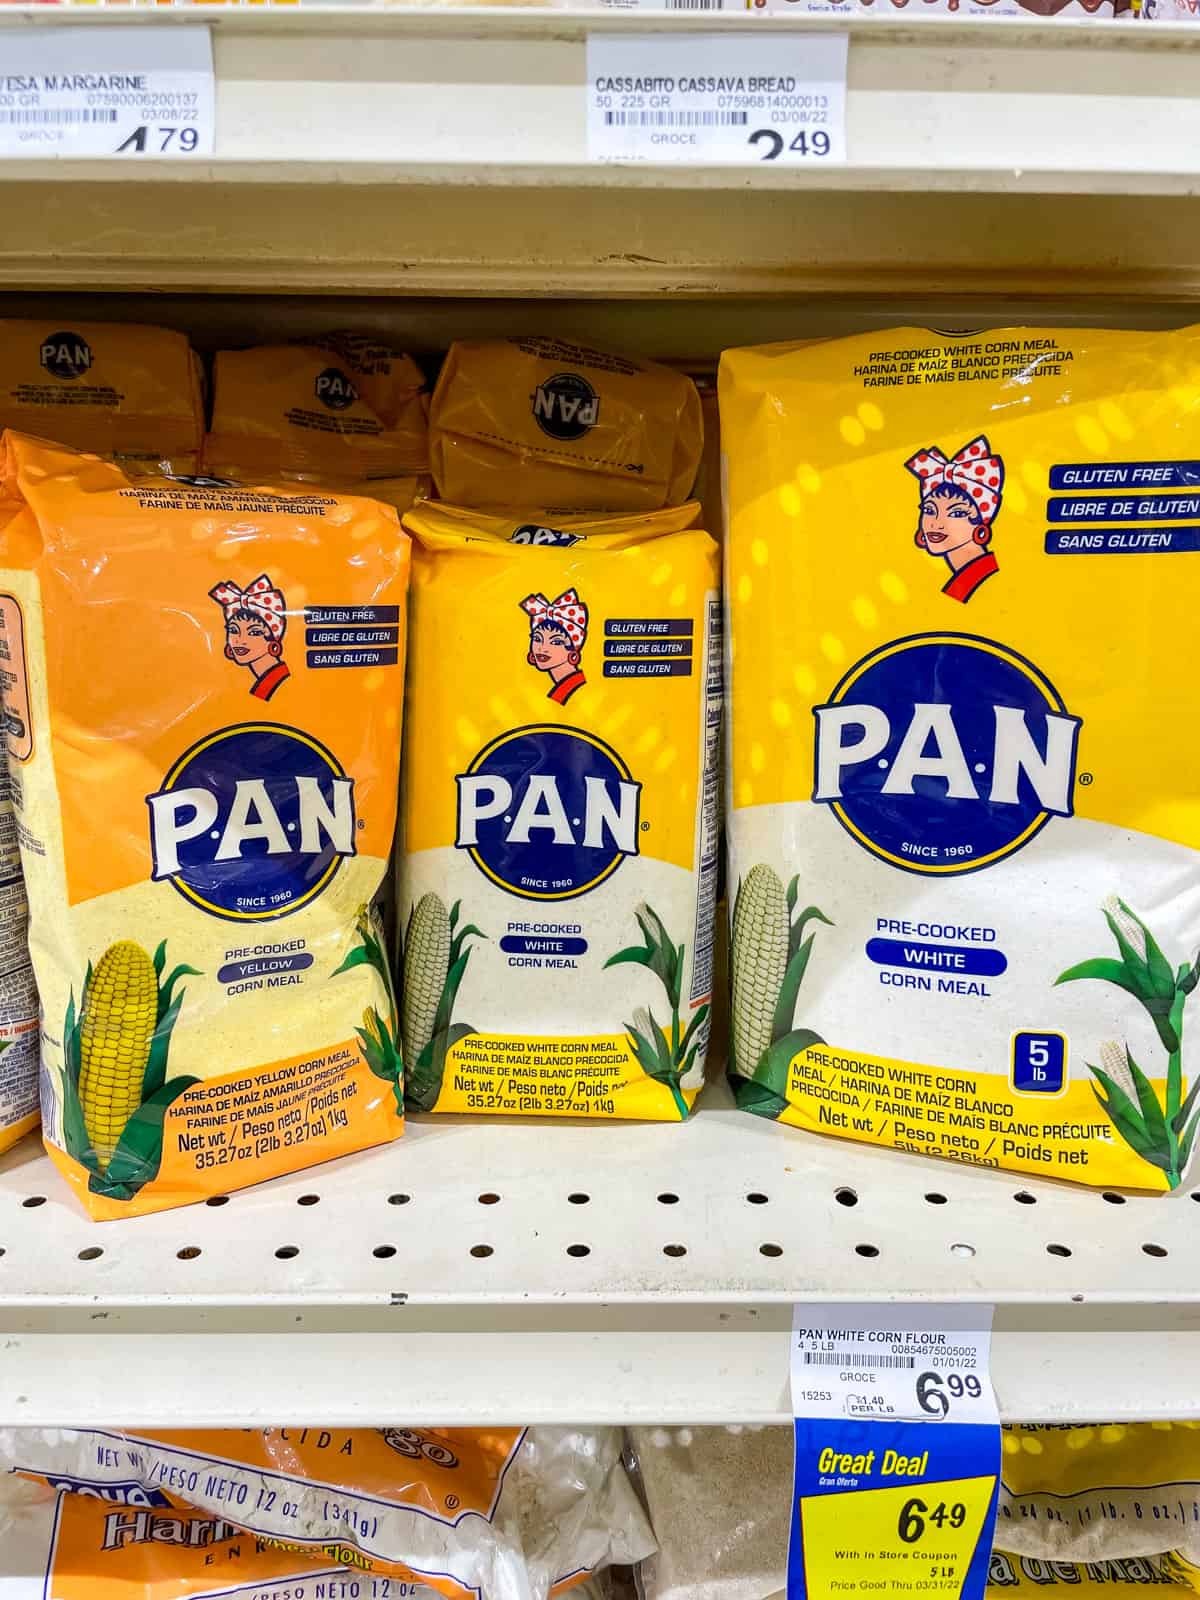
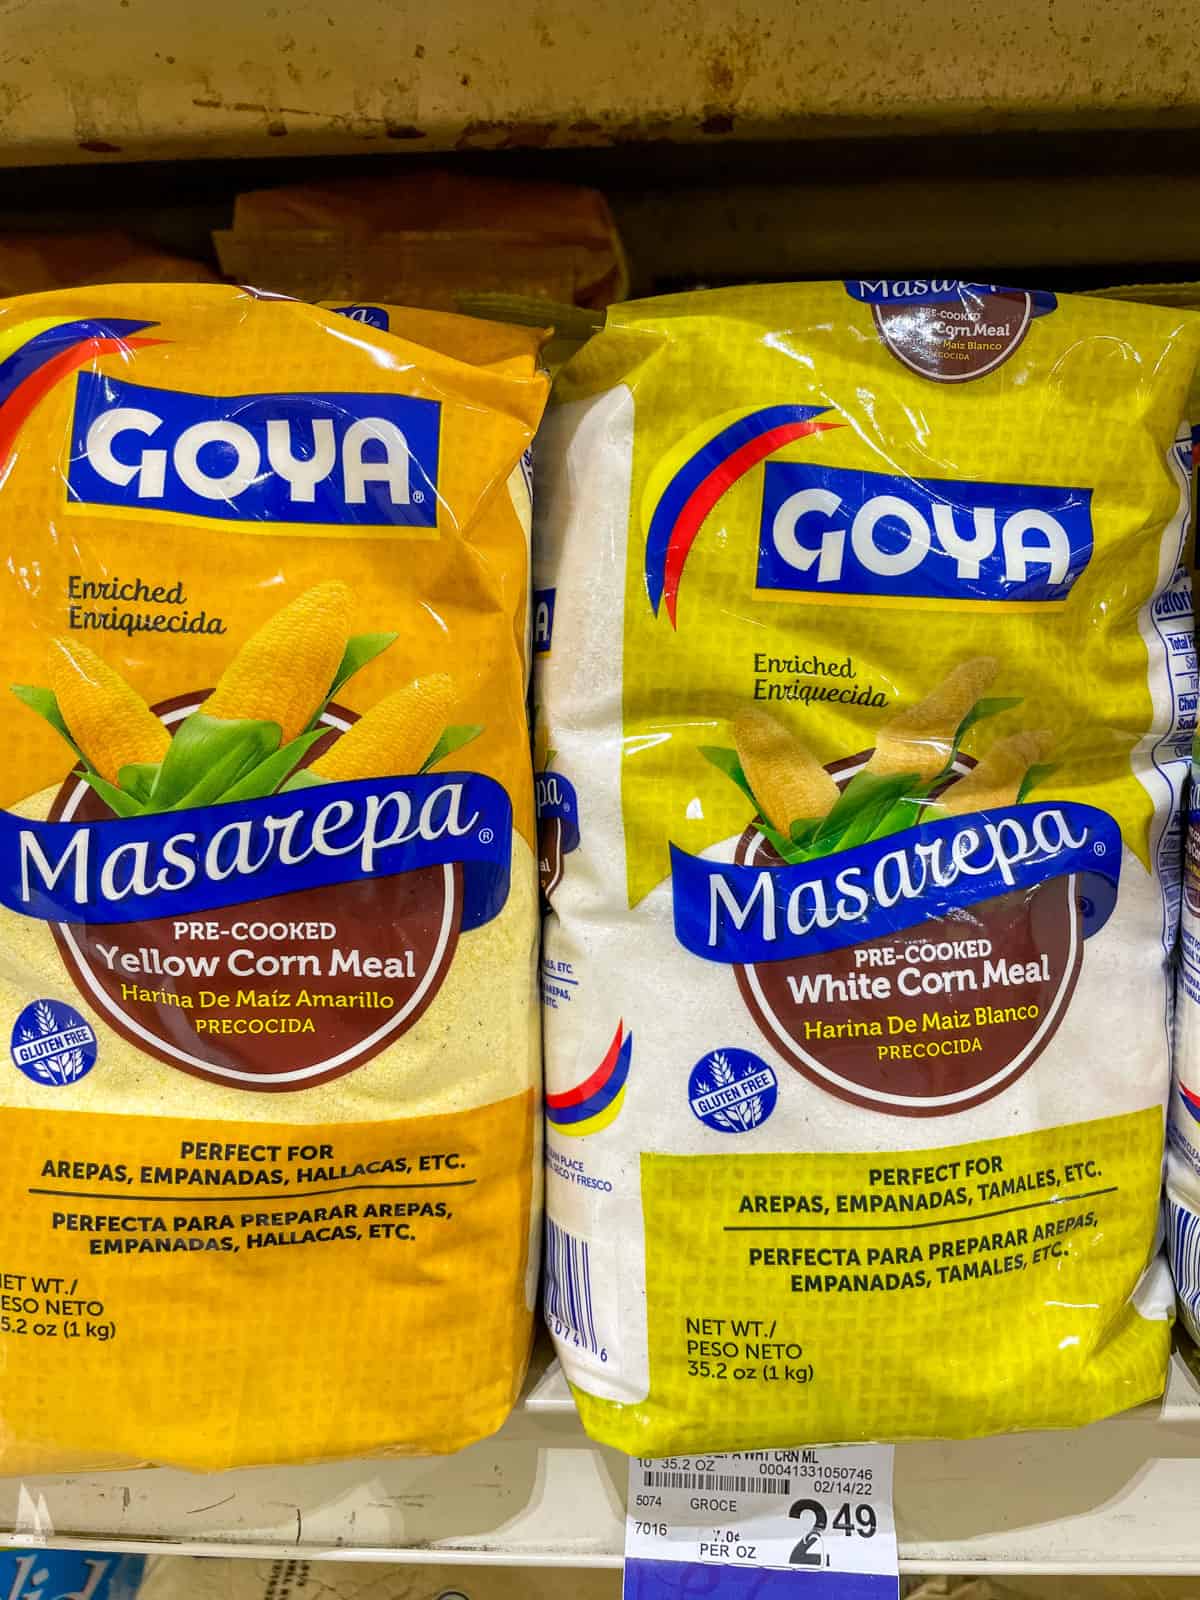
It is easy to get confused since there are so many different types of flours to choose from at the grocery store. But, look for P.A.N. in the area of the grocery store that carries South American, Latin American or Mexican goods.
🔪 Instructions
Step by step photos for how to make homemade Venezuelan arepas from scratch.
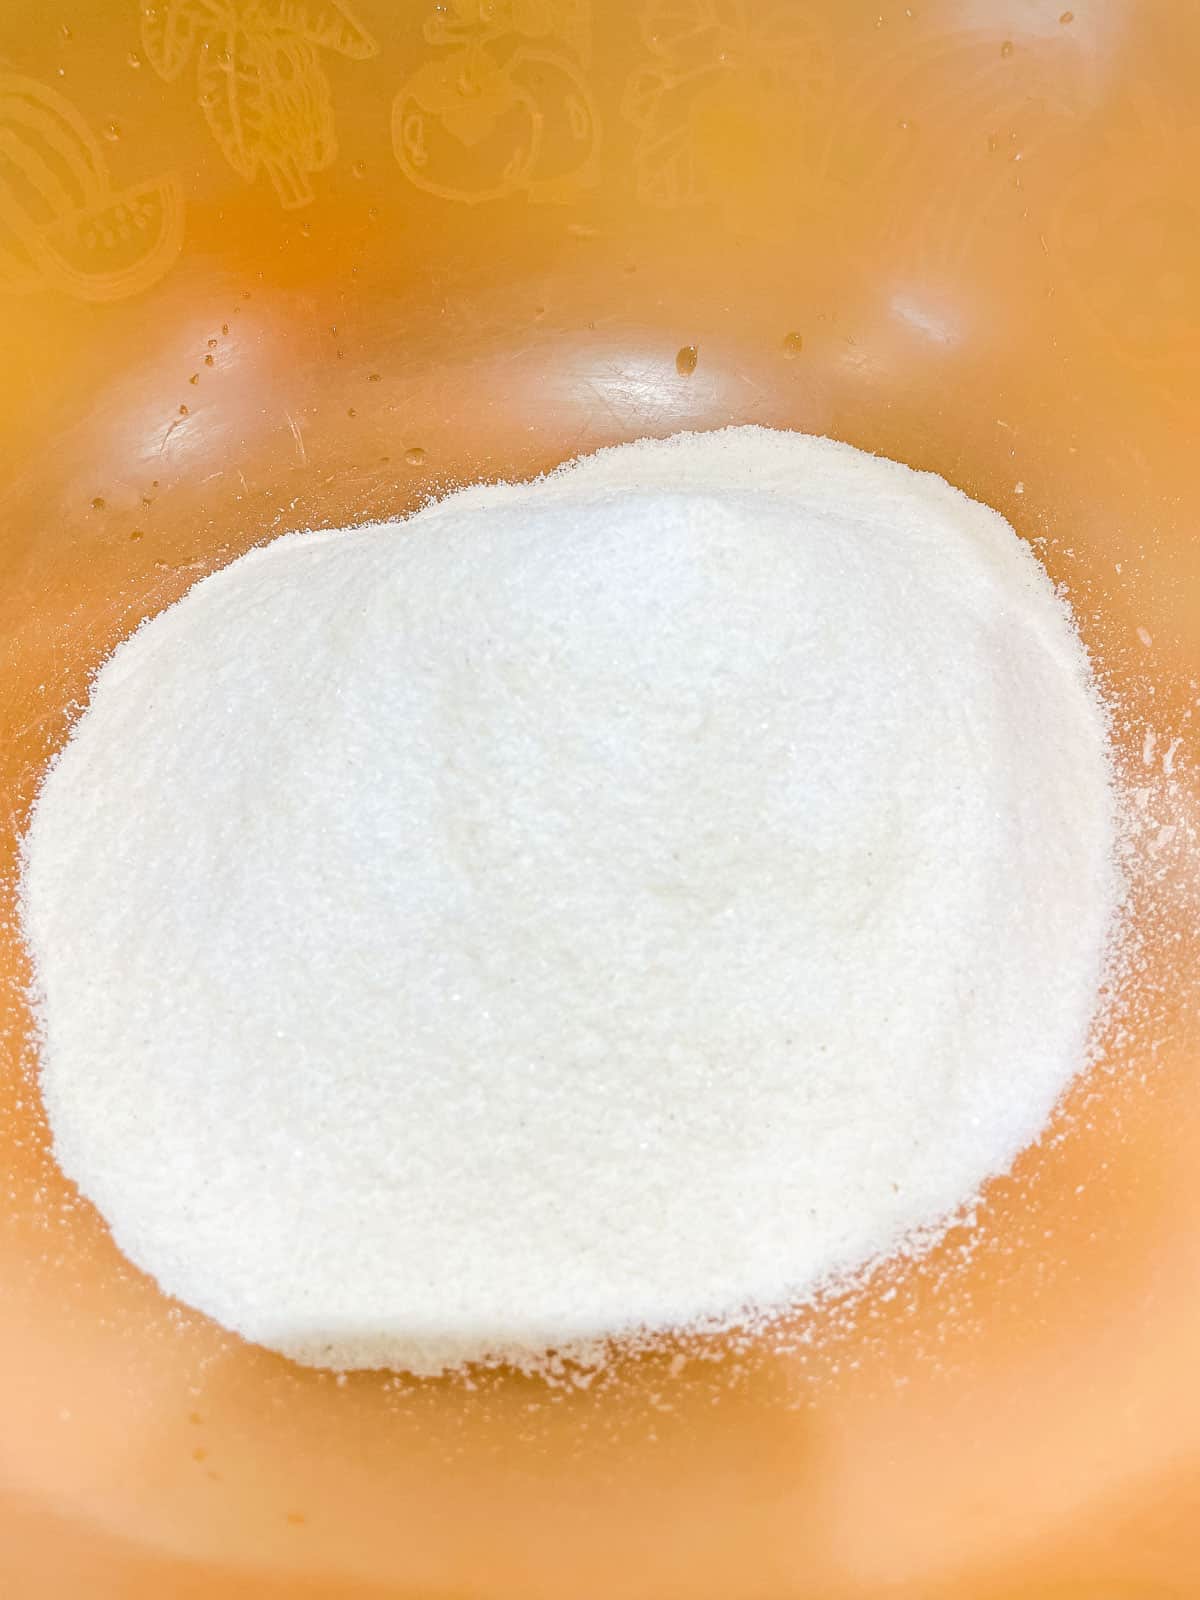
In a large mixing bowl, mix PAN masarepa flour and the salt with your fingers.
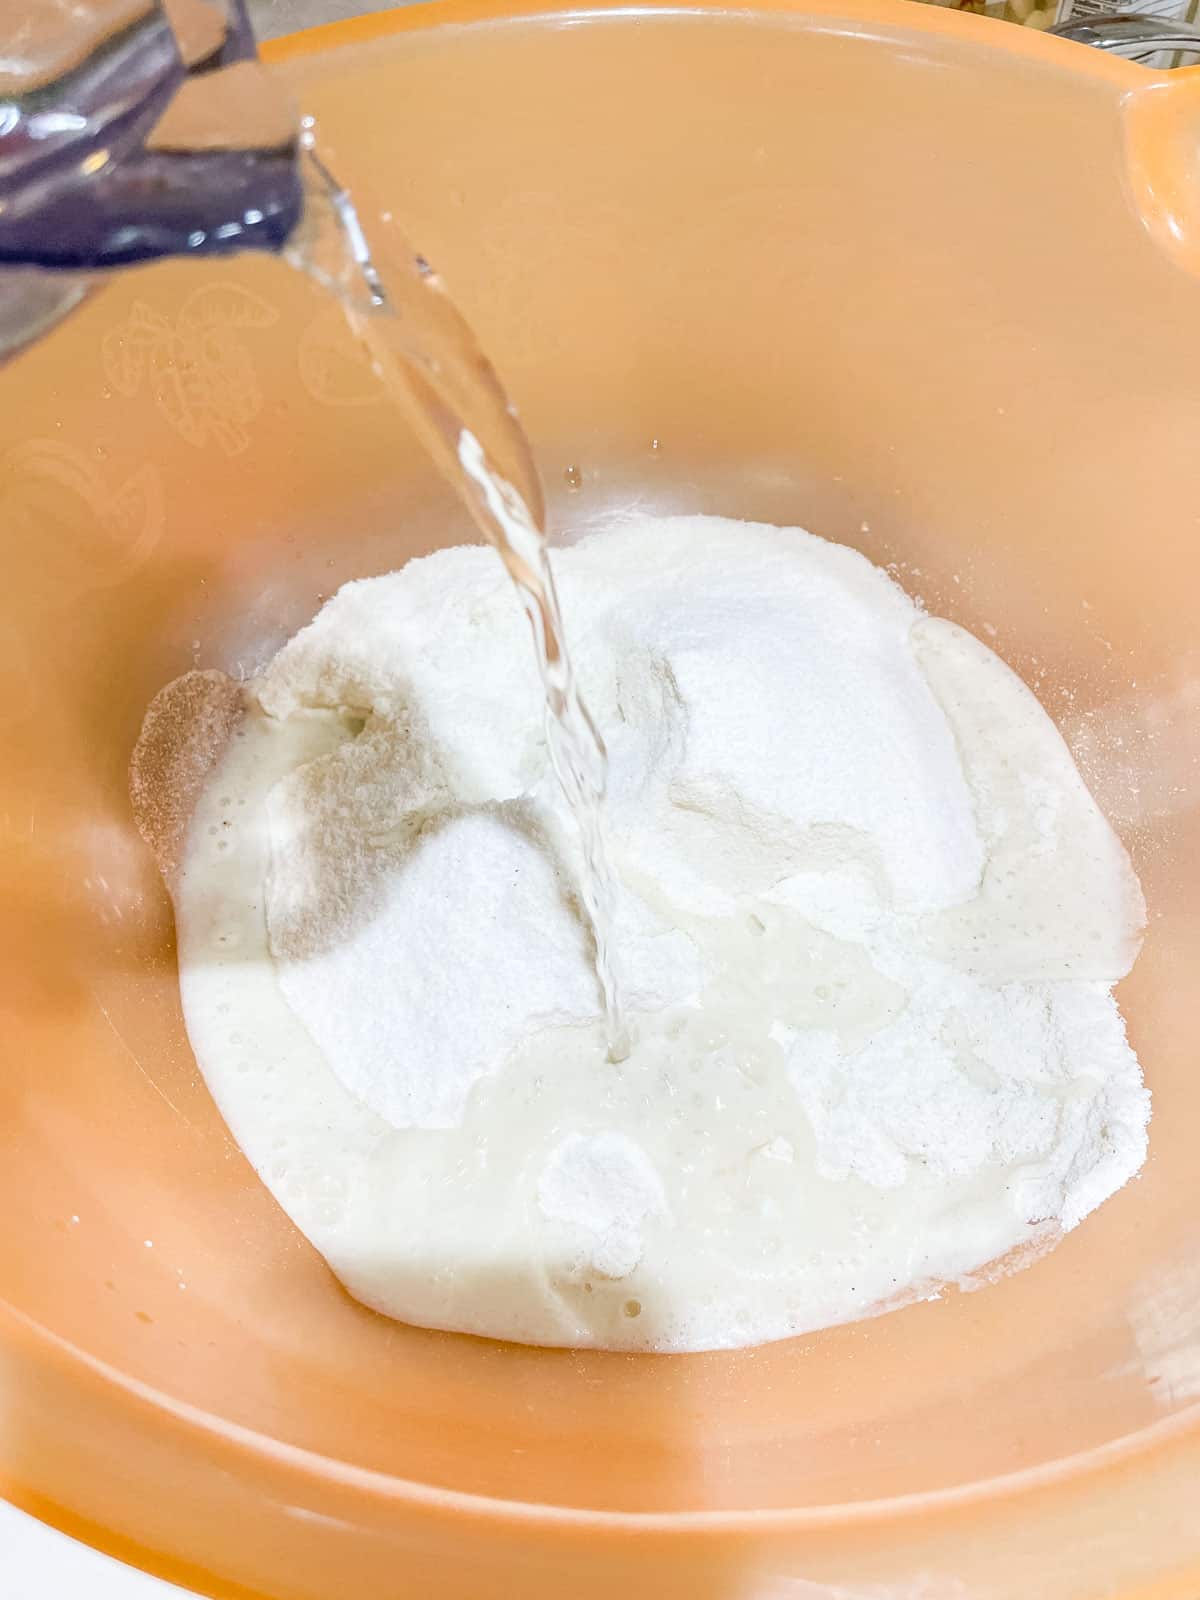
Pour water into mixing bowl with the flour and salt.
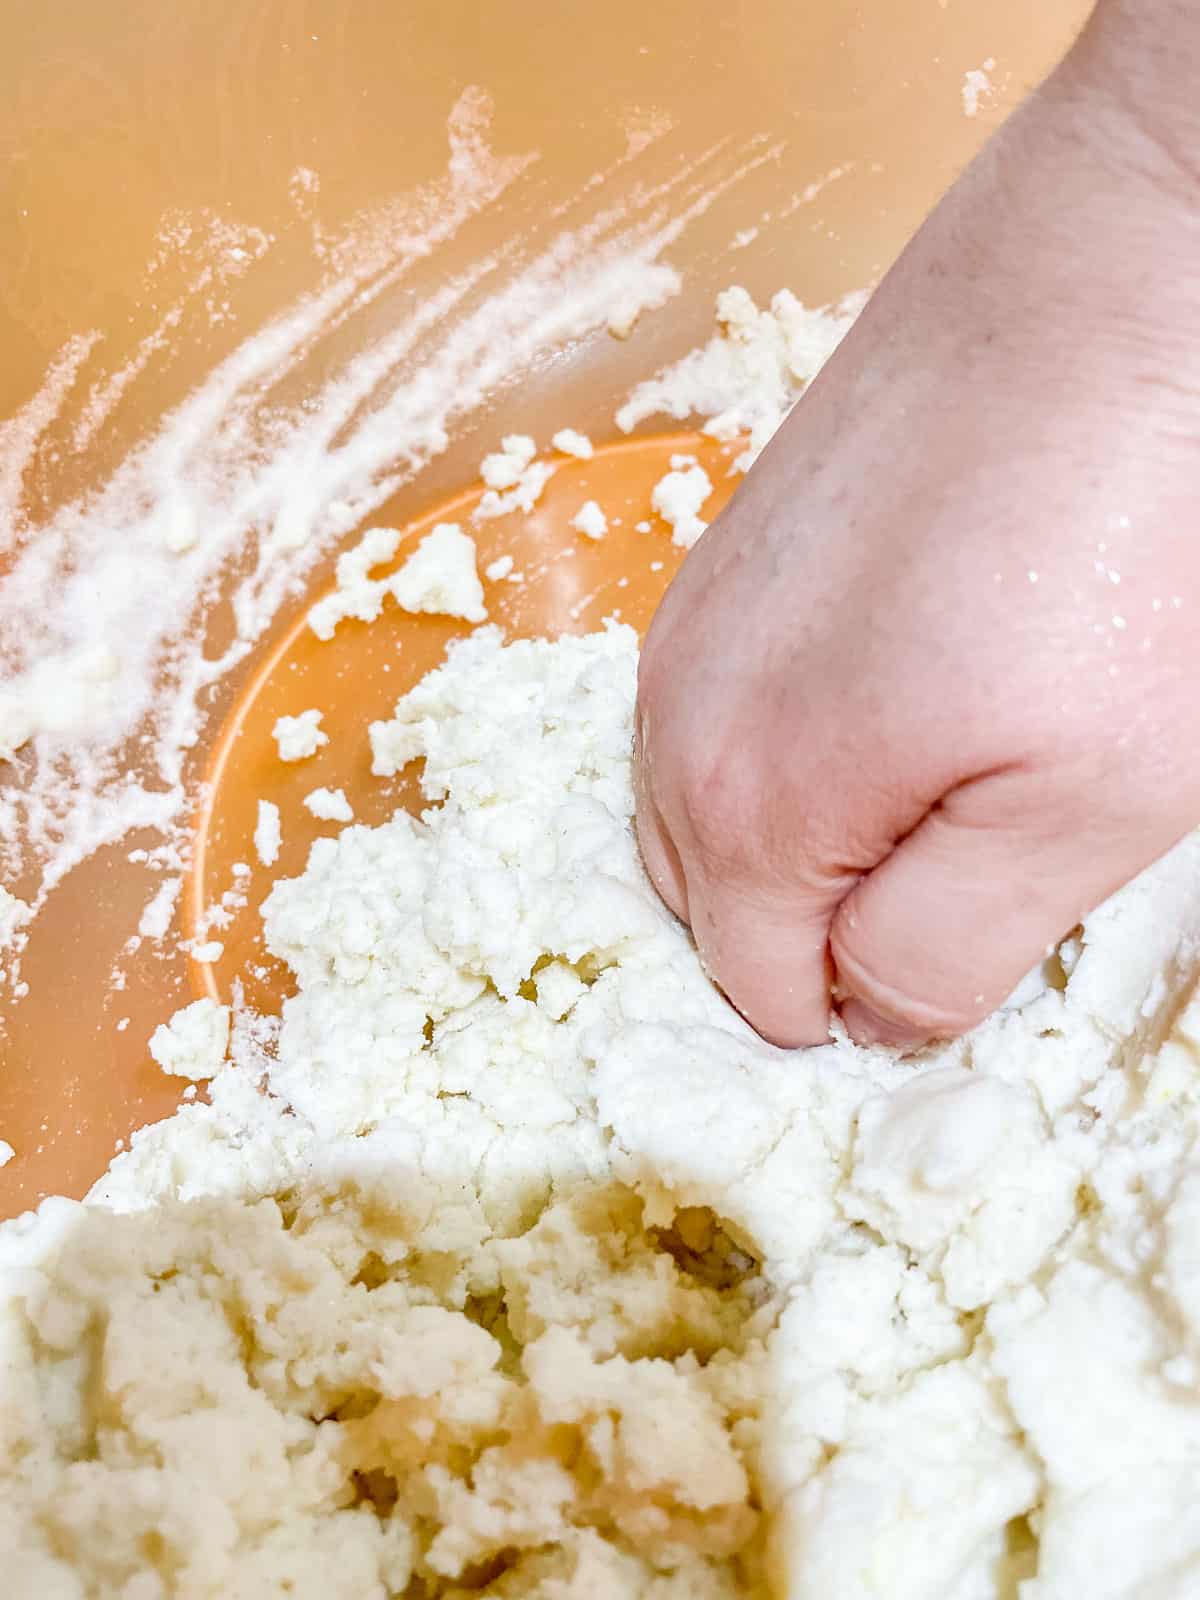
Mix the dough together with your hands until it is well mixed and no dry flour is visible.

Knead the dough for 3 minutes with your hands to fully incorporate the water and allow the masarepa to absorb the water.
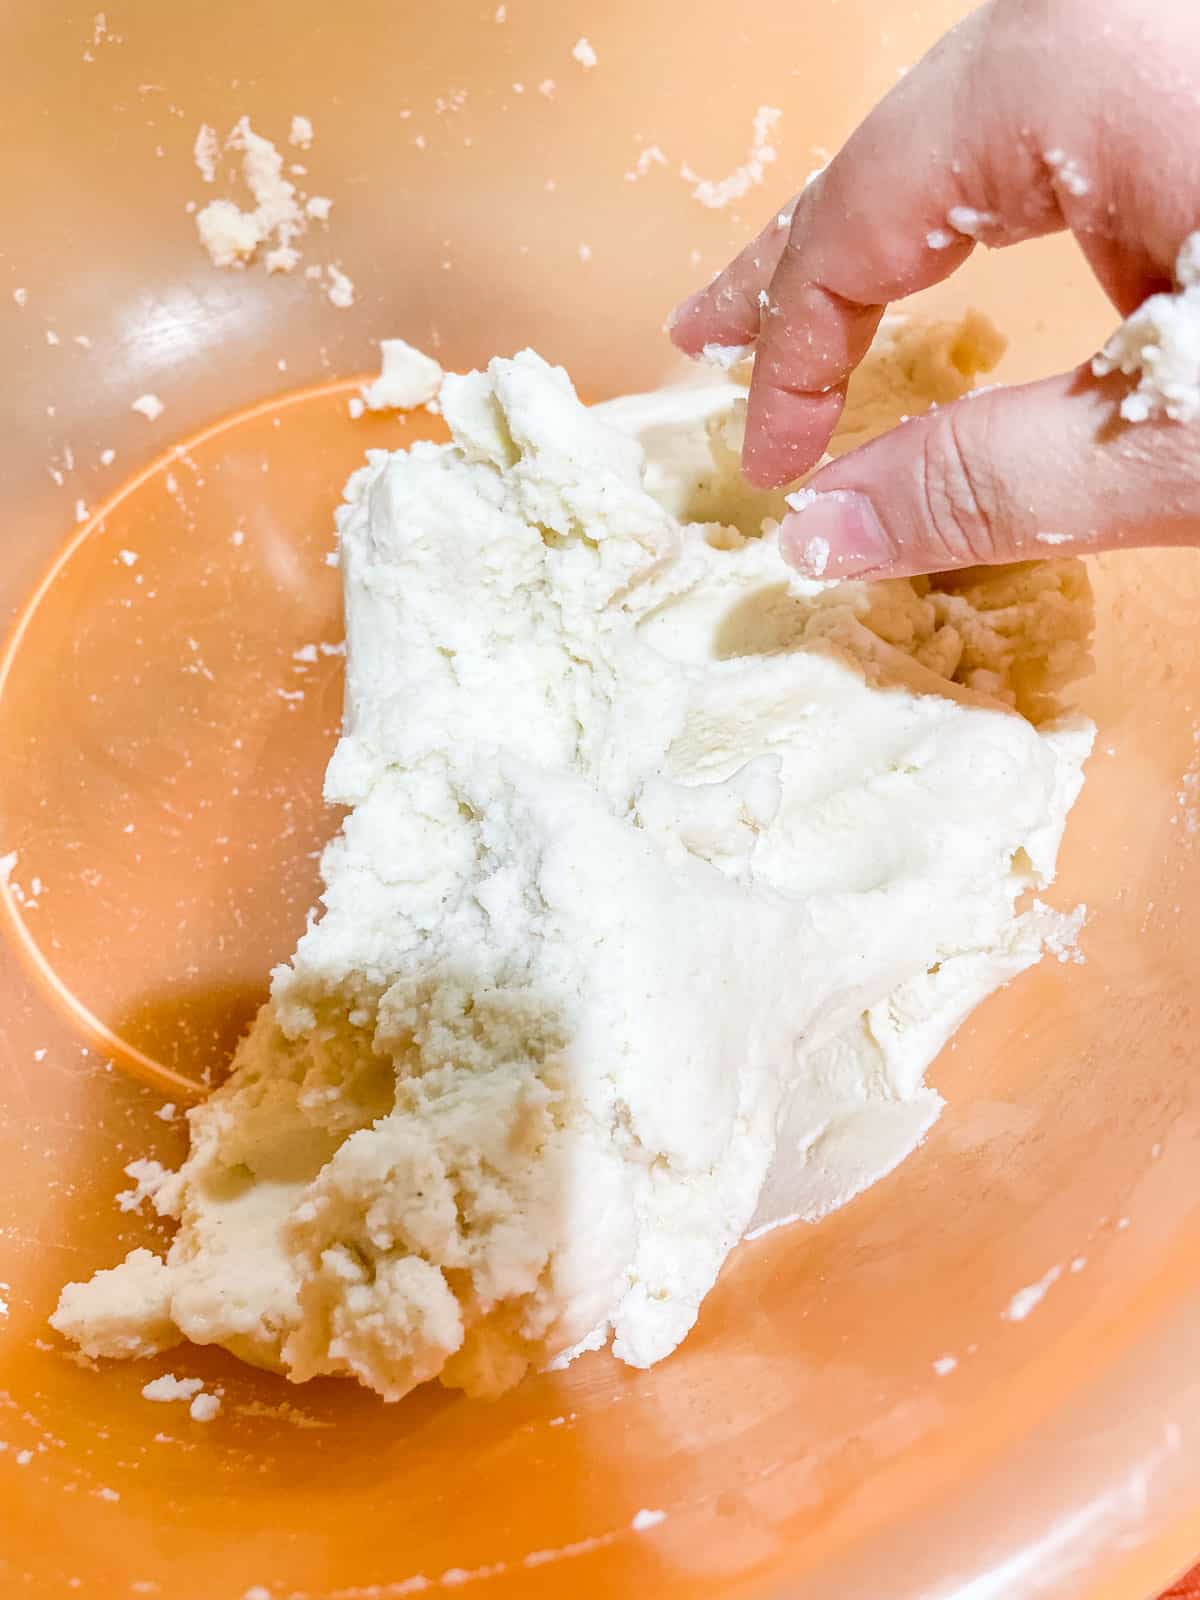
As you knead, the dough should separate from the sides of the bowl.
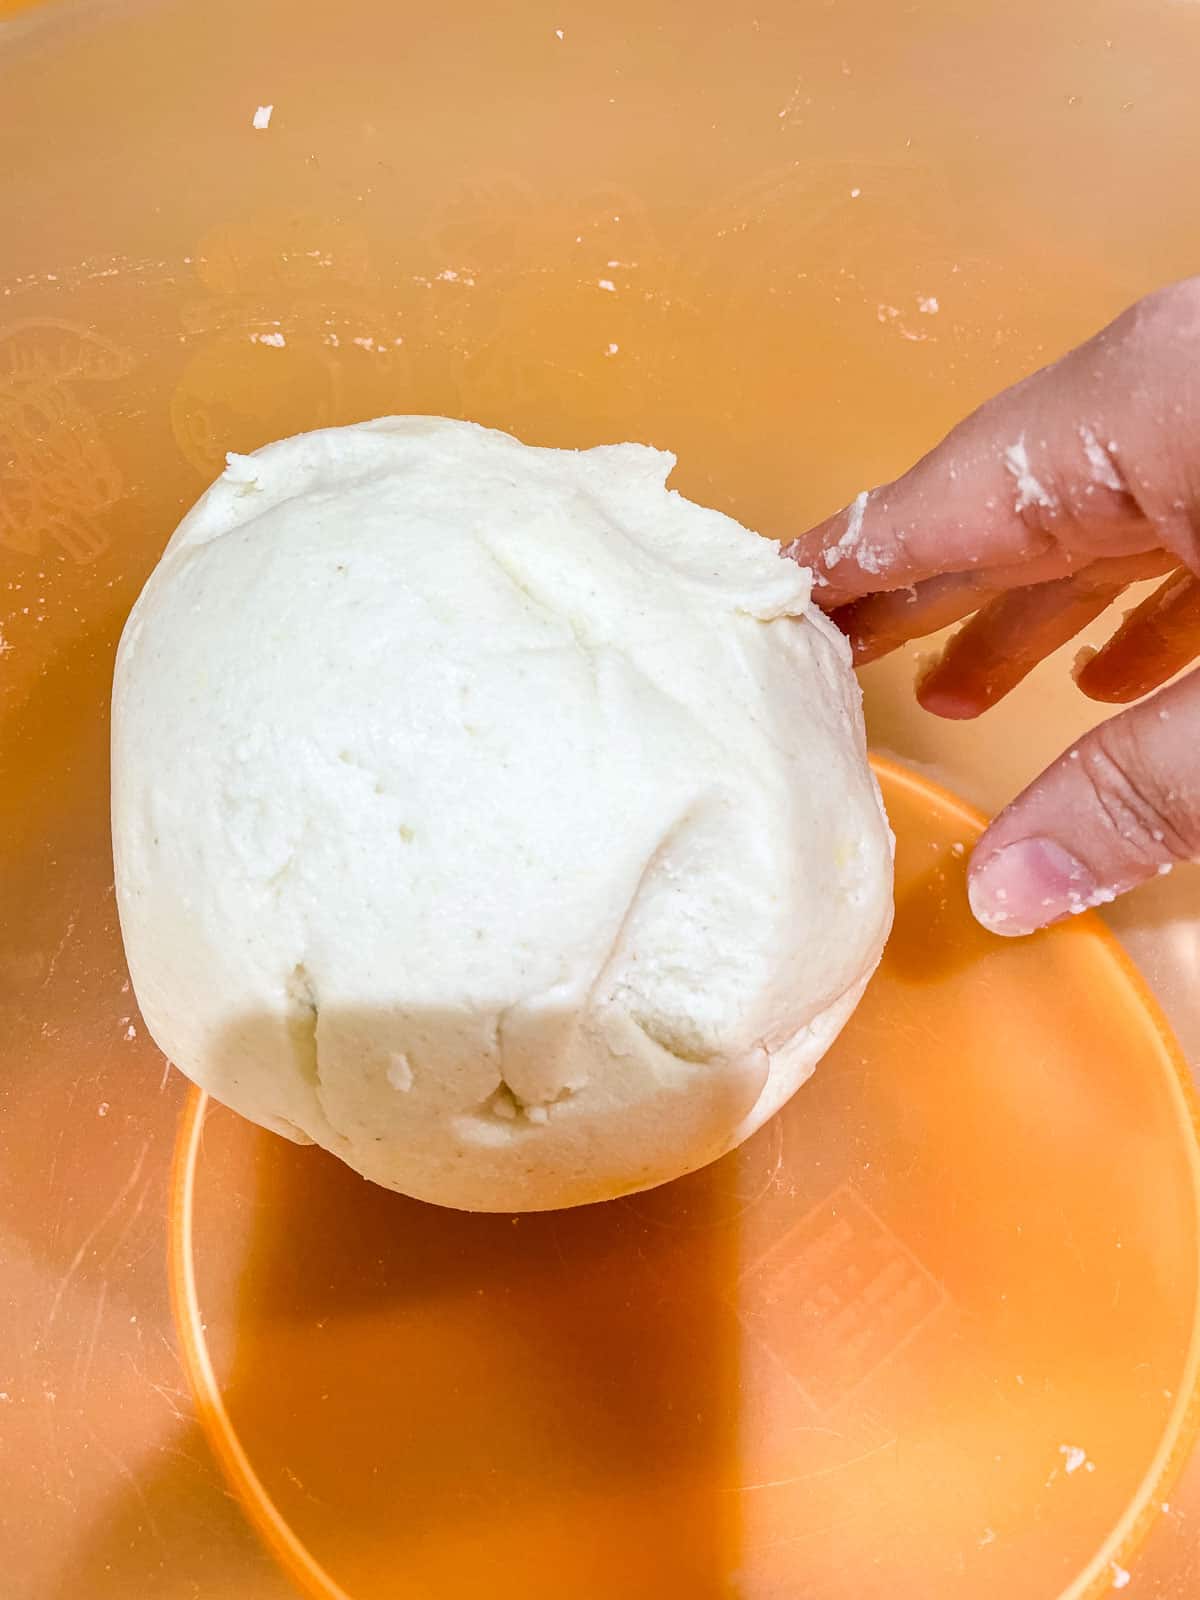
Check to see if the dough is good by rolling a handful of dough into a ball and then make an impression with a finger.
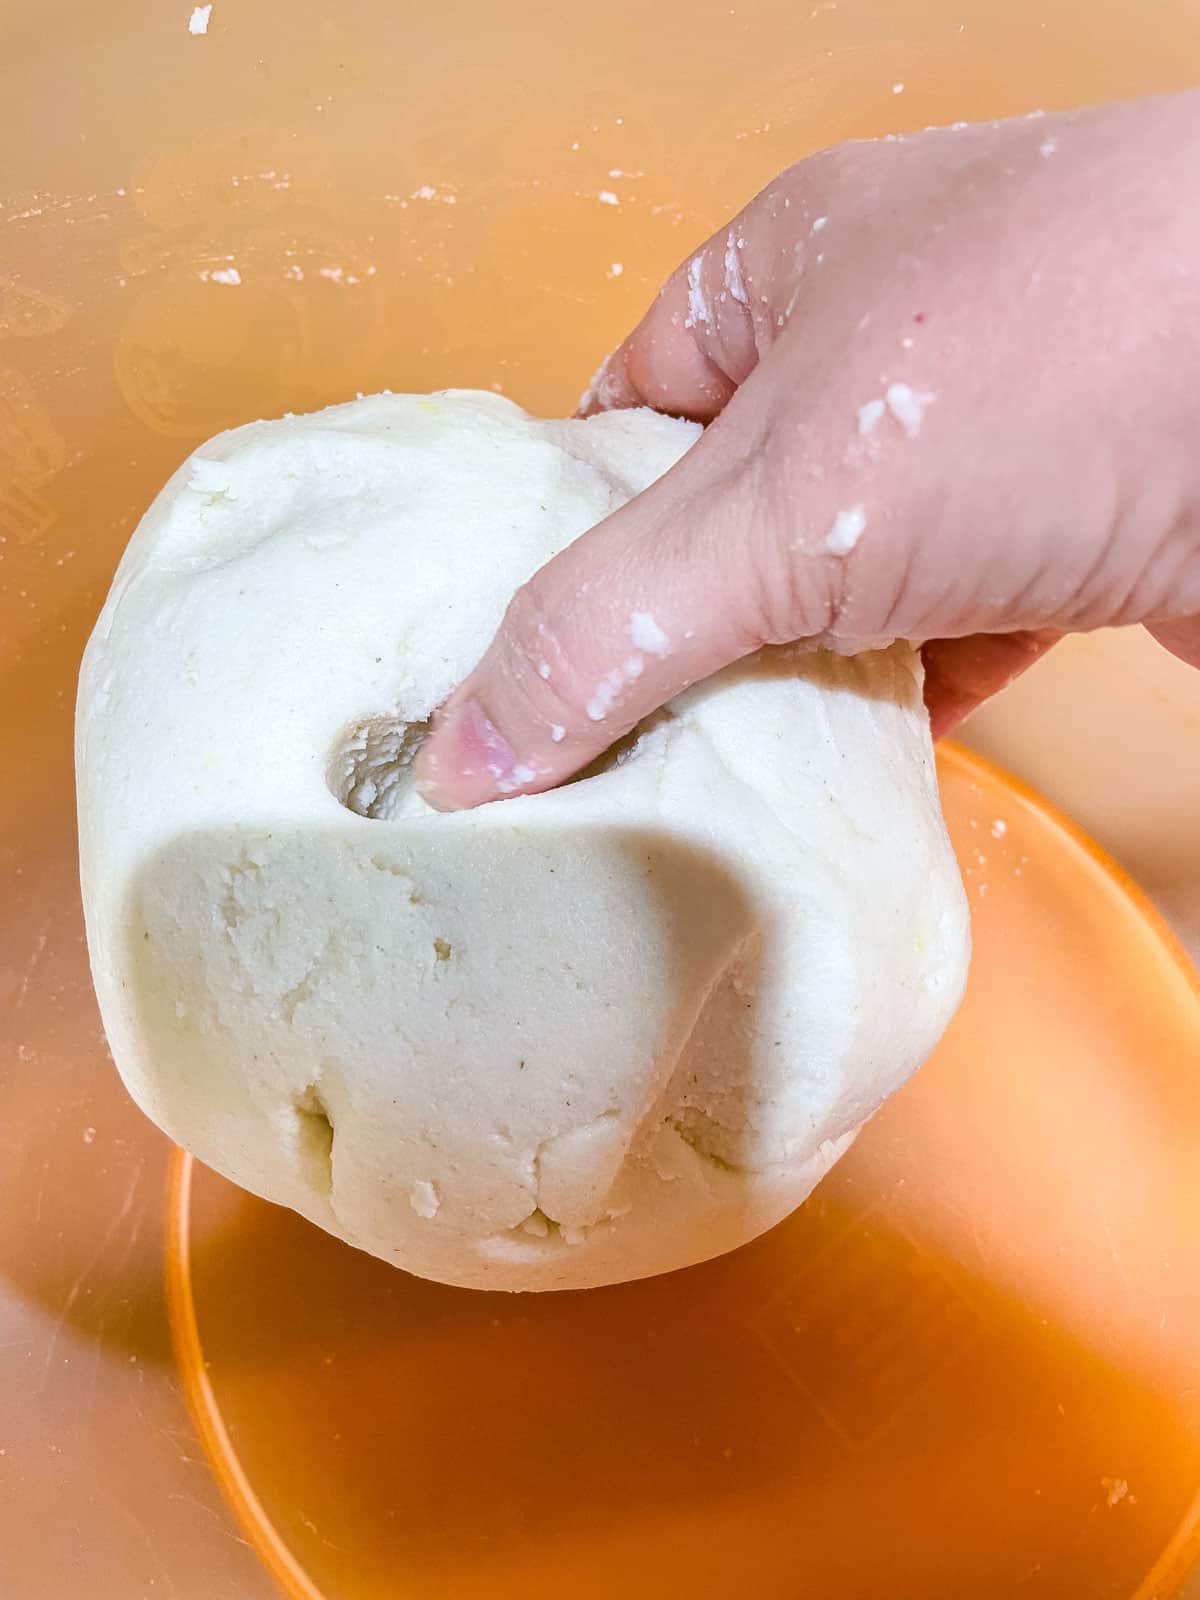
The dough should be soft, moldable and doesn't crack where you made the impression. If it cracks, then the dough needs a little more water. Knead in a few tablespoons of water at a time until it is soft.
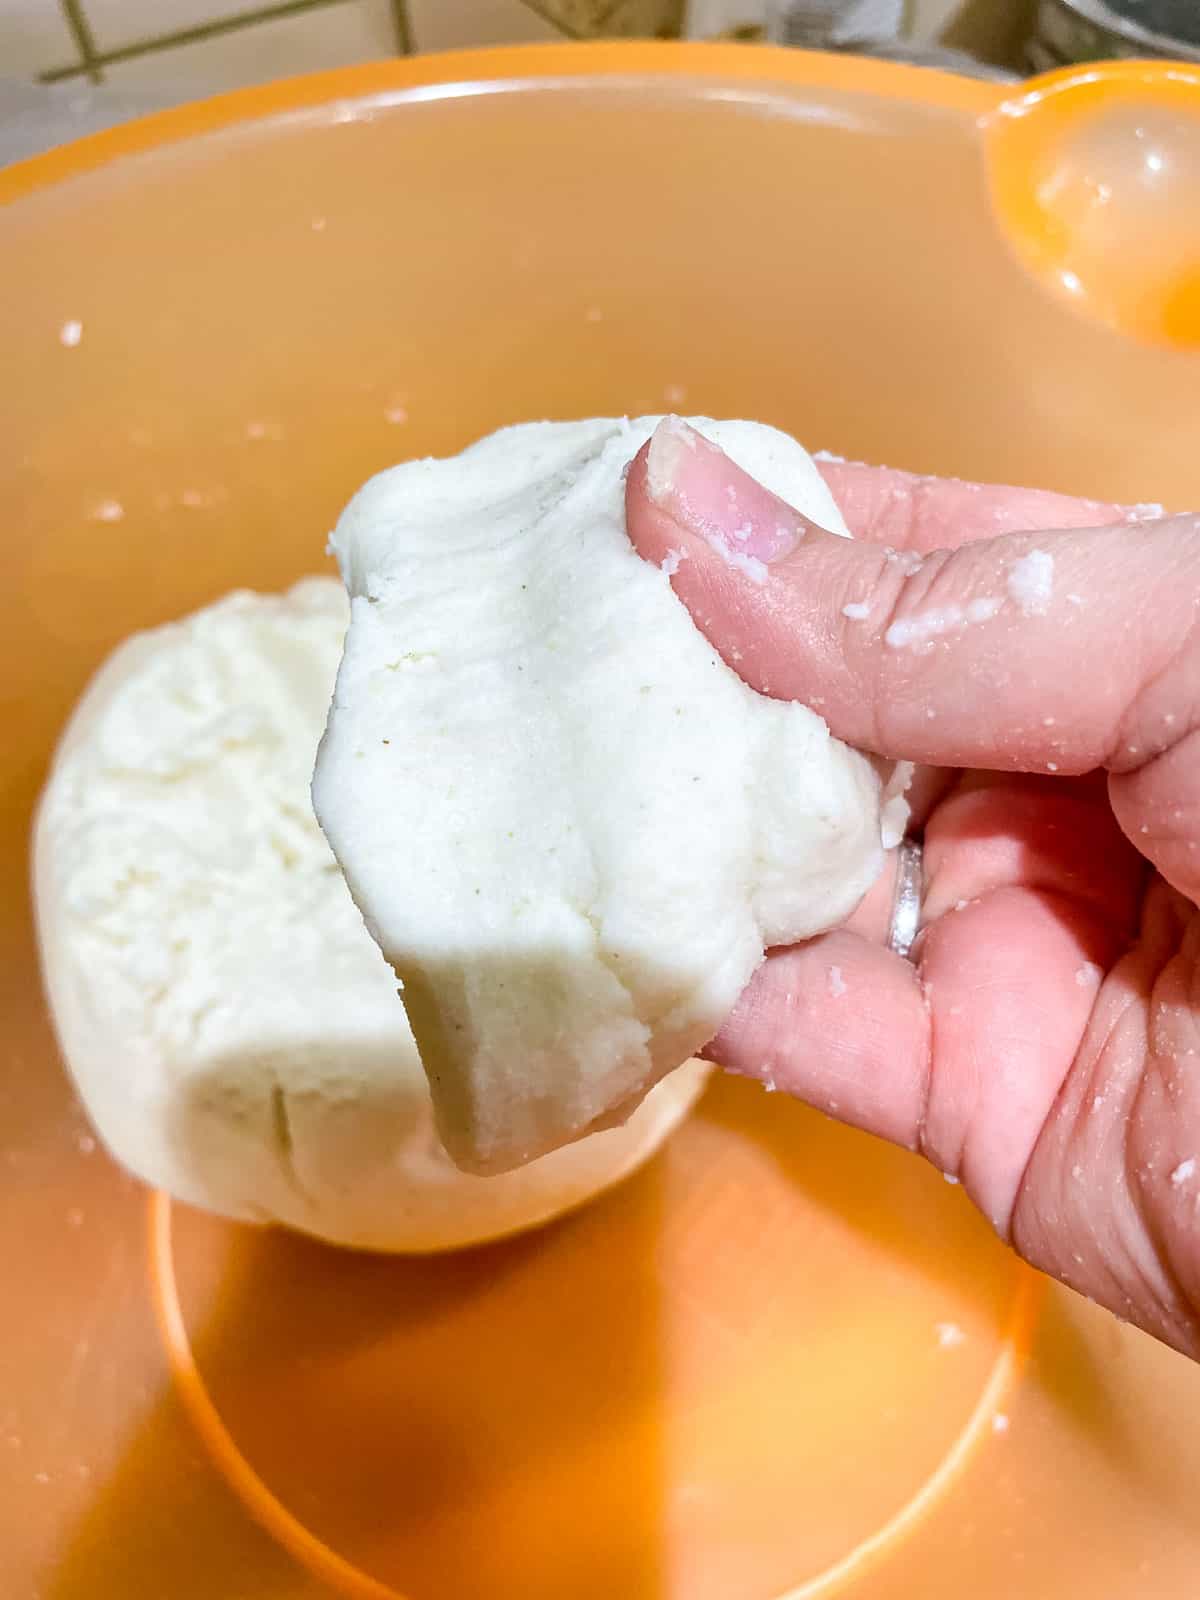
You can check the consistency of the dough by taking a portion, rolling into a ball and then squish it with your hands. If it develops cracks, the dough needs more water incorporated into it.
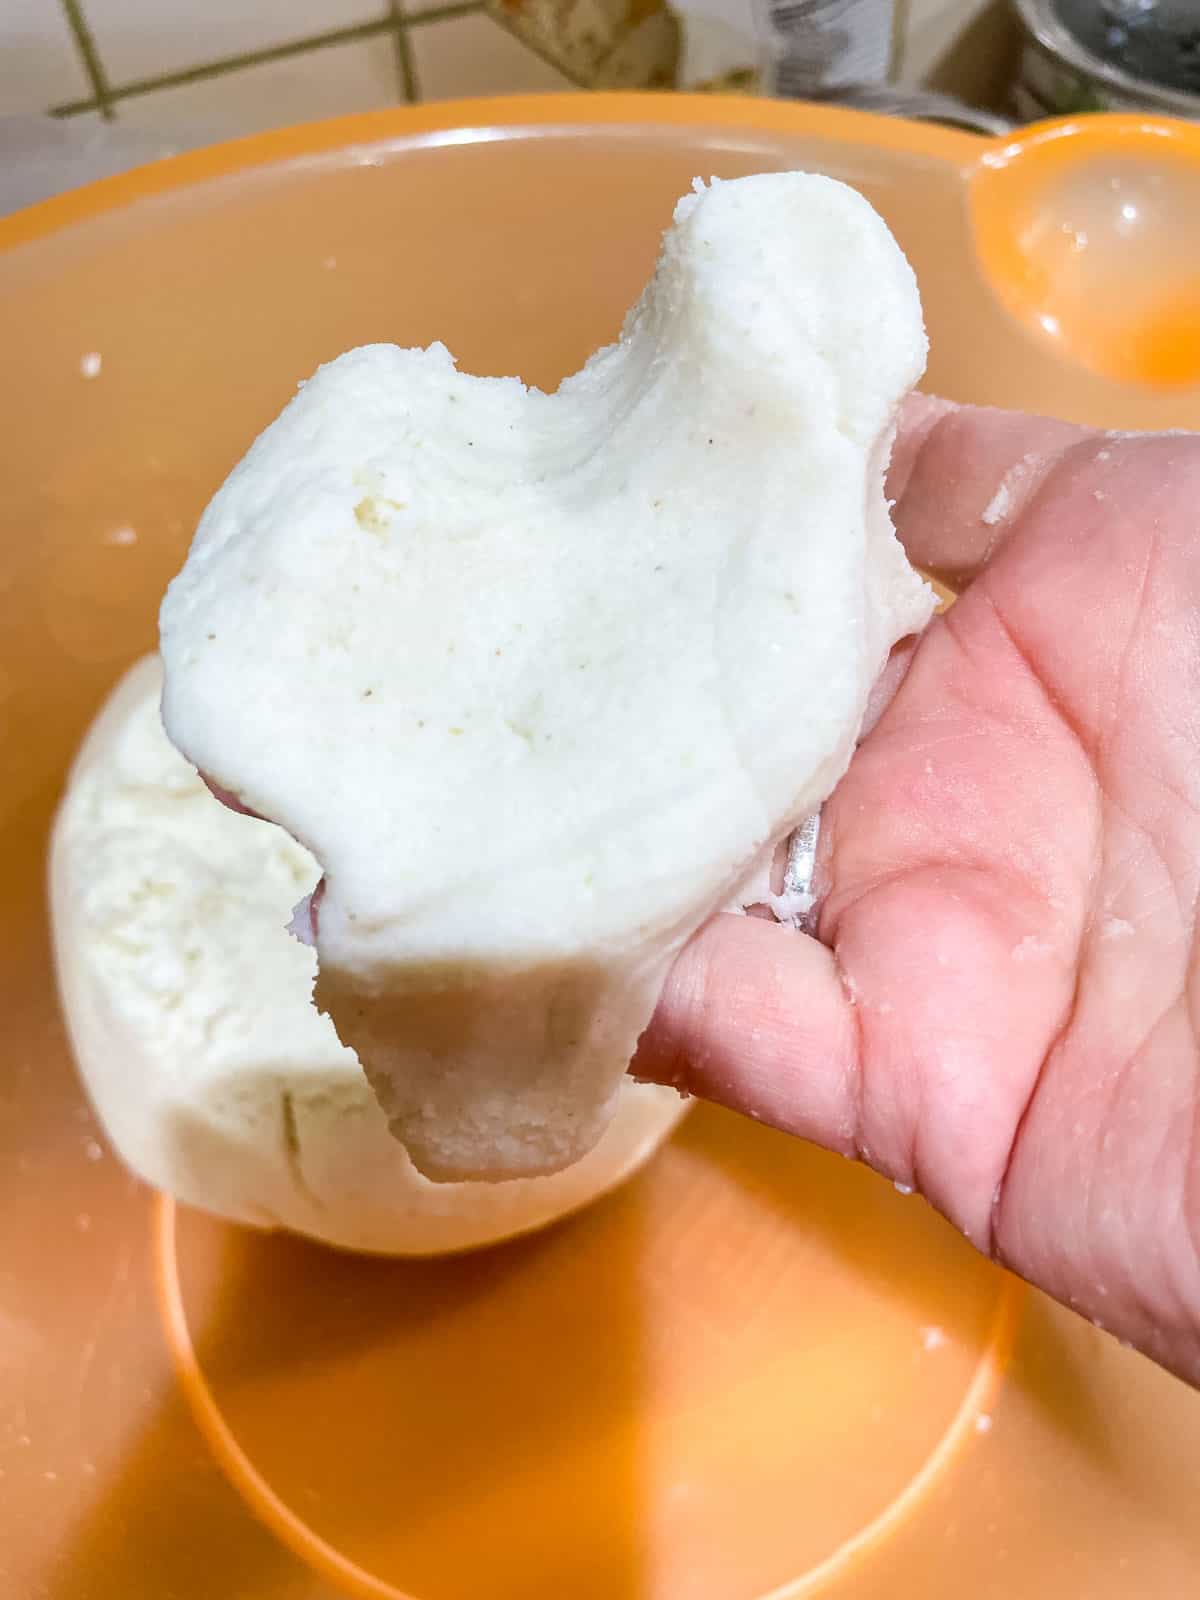
The consistency should be like very soft play-doh. Do you see here where I've squeezed it with my hand but there are no cracks? The dough is malleable and hydrated enough.

Make your arepa patties by rolling a portion of dough into a ball about the size of a tennis ball in your hands. (See notes in recipe card for precise weight measurements per arepa.)

Then, gently press the ball a few times to flatten it. We want both sides of the arepa to be as flat as they can be so they come in contact with the pan to cook evenly.

Then, lightly smooth the edges all the way around. If your arepa dough is cracking or not staying together when you try to shape your patty, it's too dry. Add the dough back to the bowl, add a little water and knead it all again to incorporate the water.

Preheat your flat skillet over medium-low heat for 2 minutes. Place arepas in the pan, gently pressing them so they make contact with the bottom of the pan, leaving plenty of room to flip them. Don't crowd the pan. You may have to do this in more than one batch, depending on the width of your skillet.
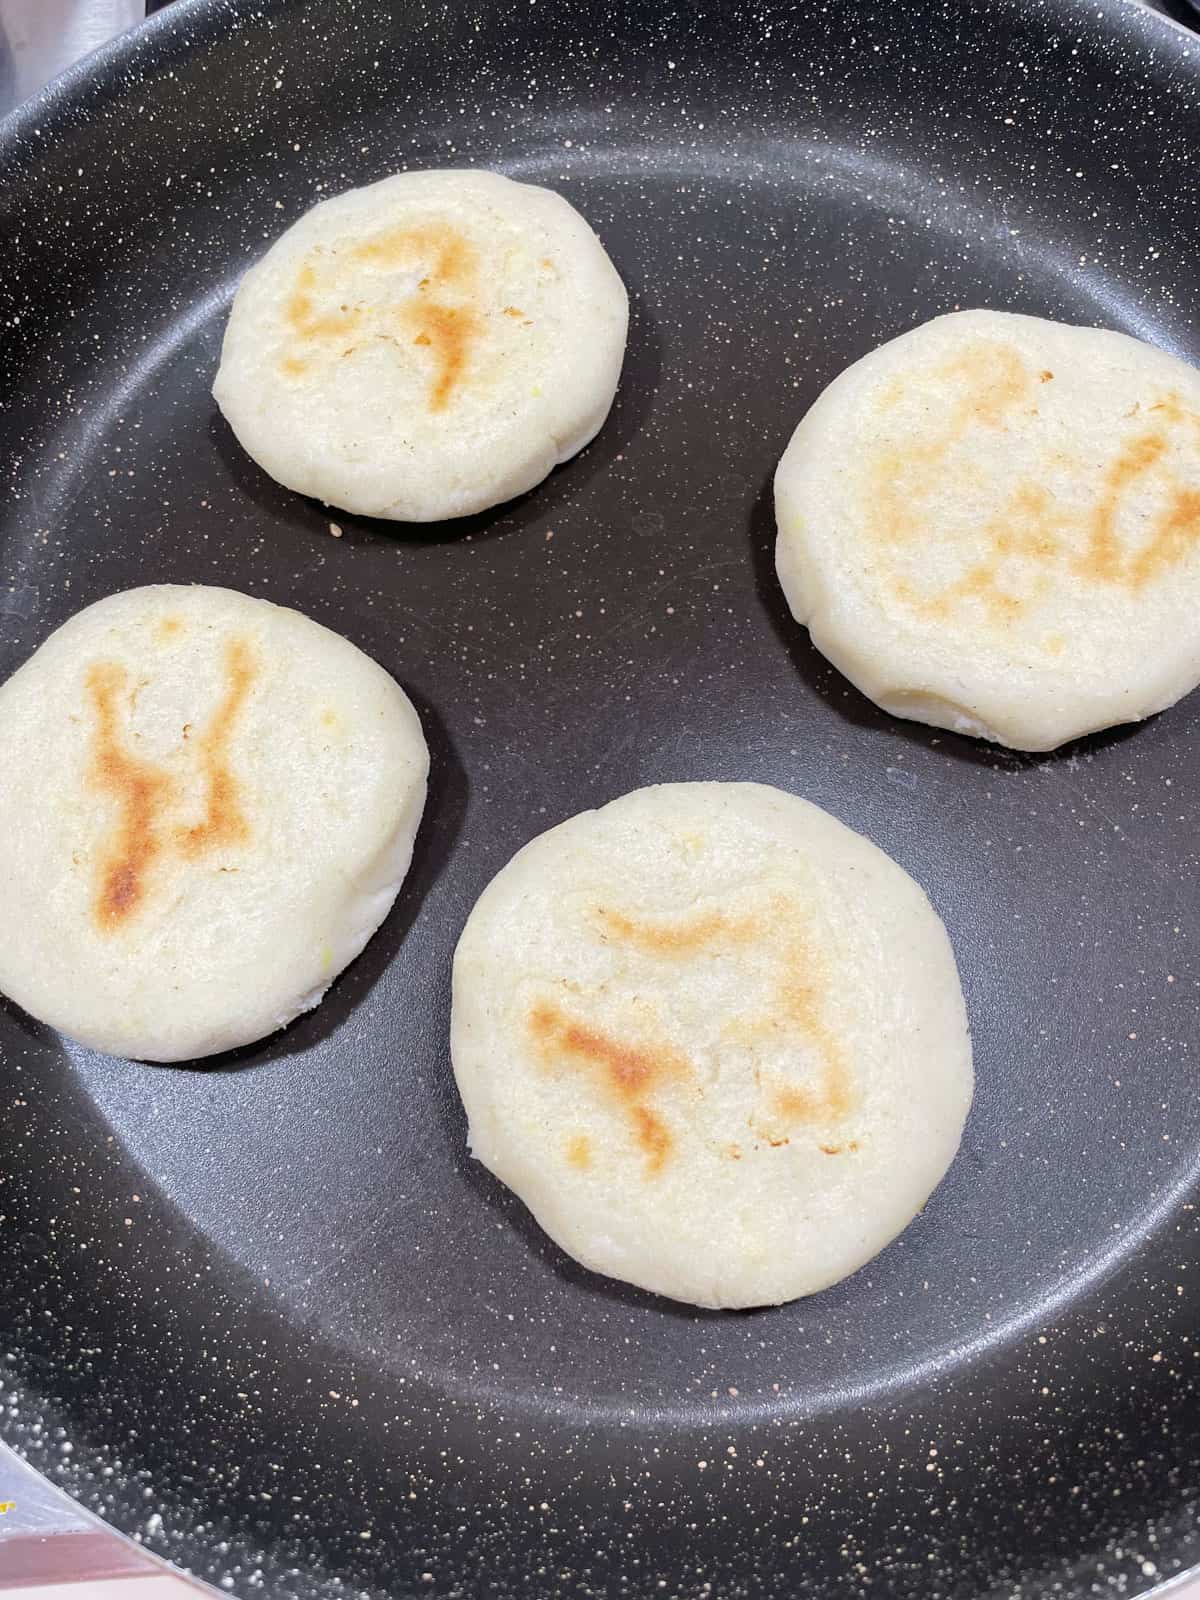
Cook or grill arepas for about 5 minutes without moving them. Then, with a spatula, carefully lift the first arepa you added to see if its browning. If not, continue cooking and possibly increase the heat slightly. If it is golden brown on the bottom, flip the arepas, gently pressing them into the pan so they make contact with the surface of the hot pan.

Cook another 5 minutes on this side. The arepas are done when they have golden brown to dark brown streaks, the outer layer of dough is crispy and they are very firm to the touch. They should be hot inside but still soft and doughy in the middle.
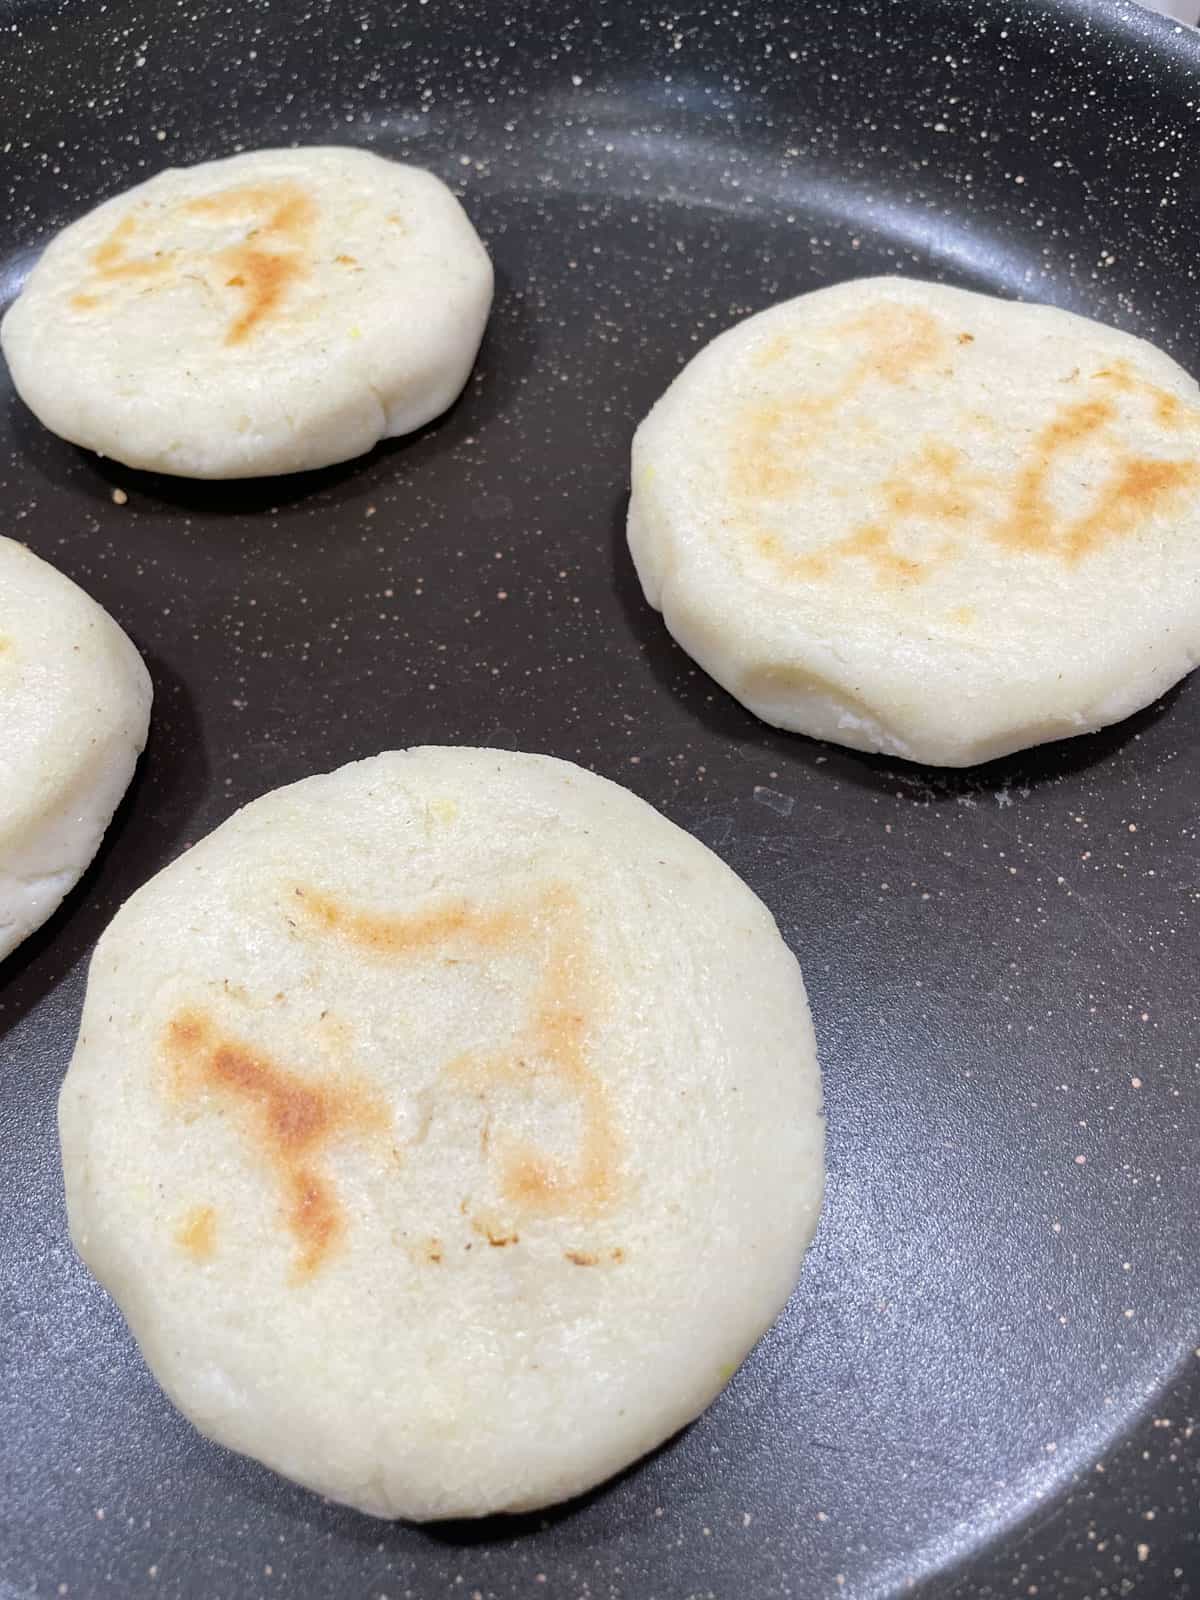
If you are making a large batch of arepas and want to keep them warm while you prepare the rest, then heat your oven to 200℉ and place the arepas on a baking sheet in the oven while you finish cooking.
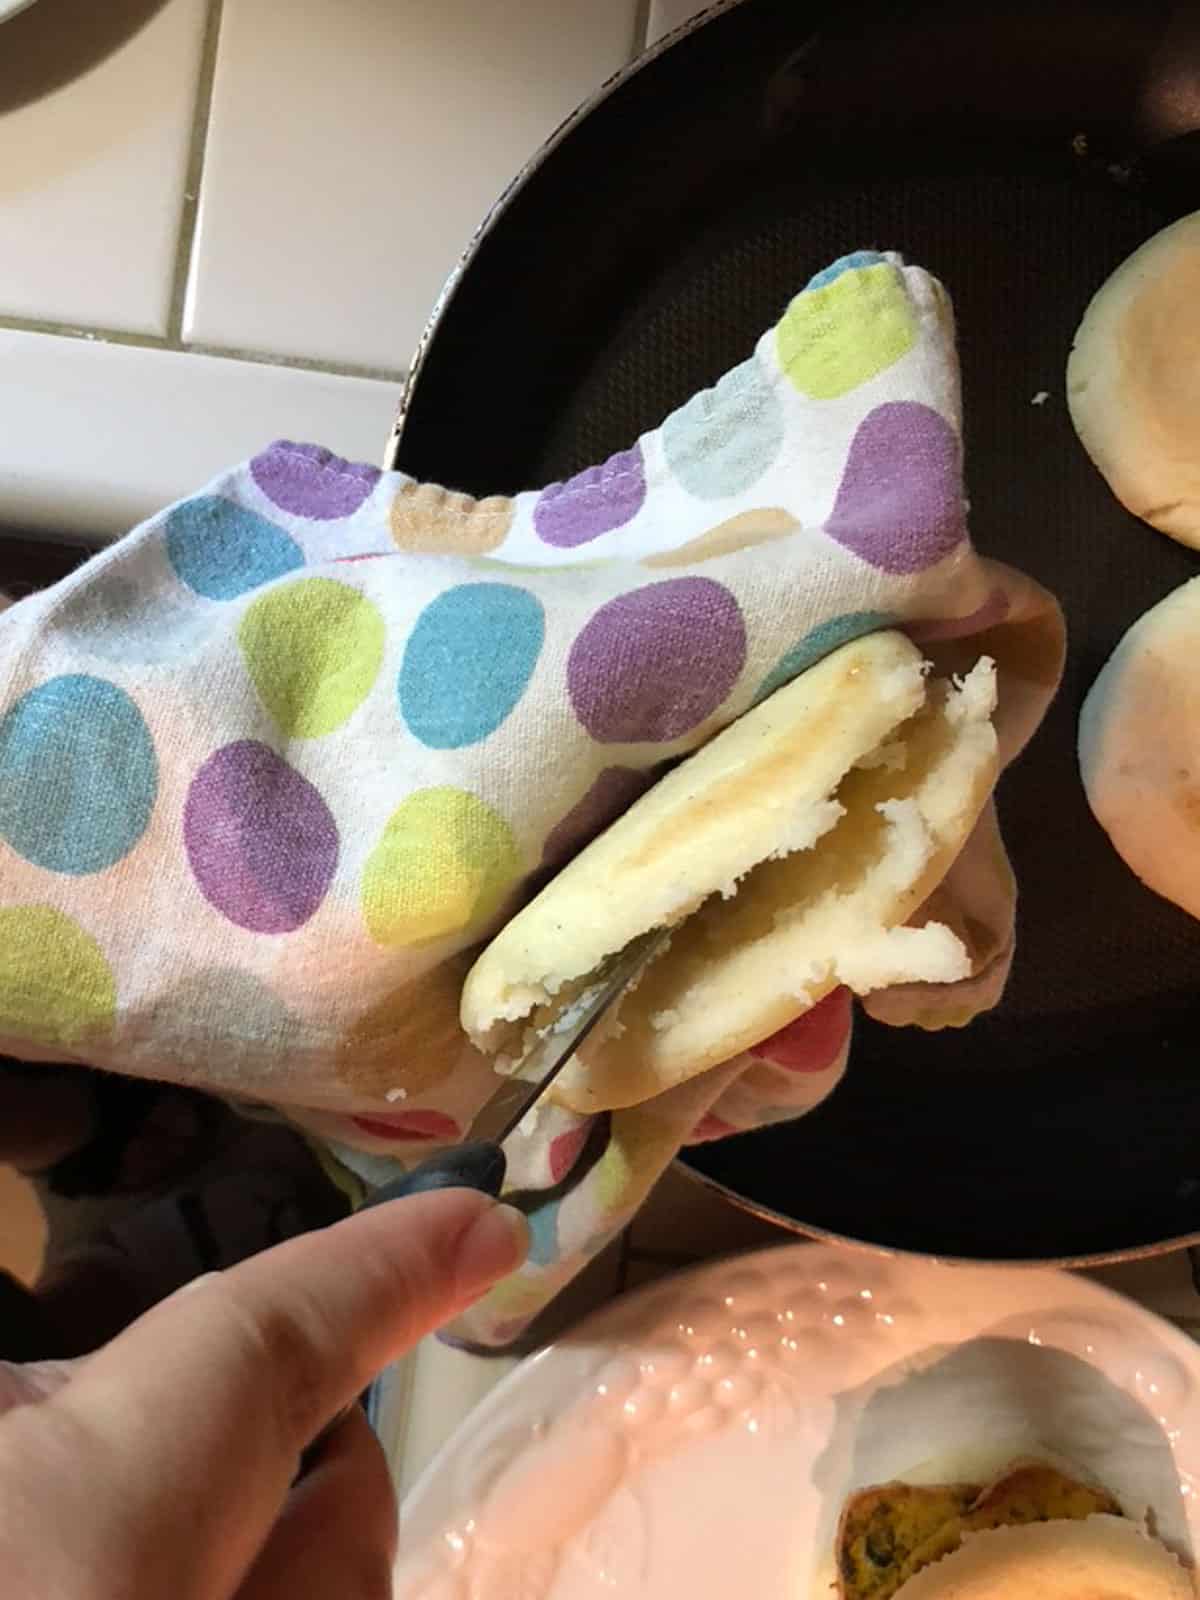
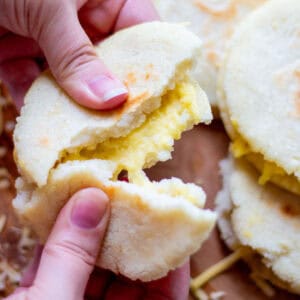
To fill the arepas, use a clean kitchen towel or pot holder to hold the hot arepa. Then, with a long, sharp knife, cut the arepa ⅔ of the way through to form an open pocket. Do not cut all the way through. Stuff with your favorite filling and serve immediately!
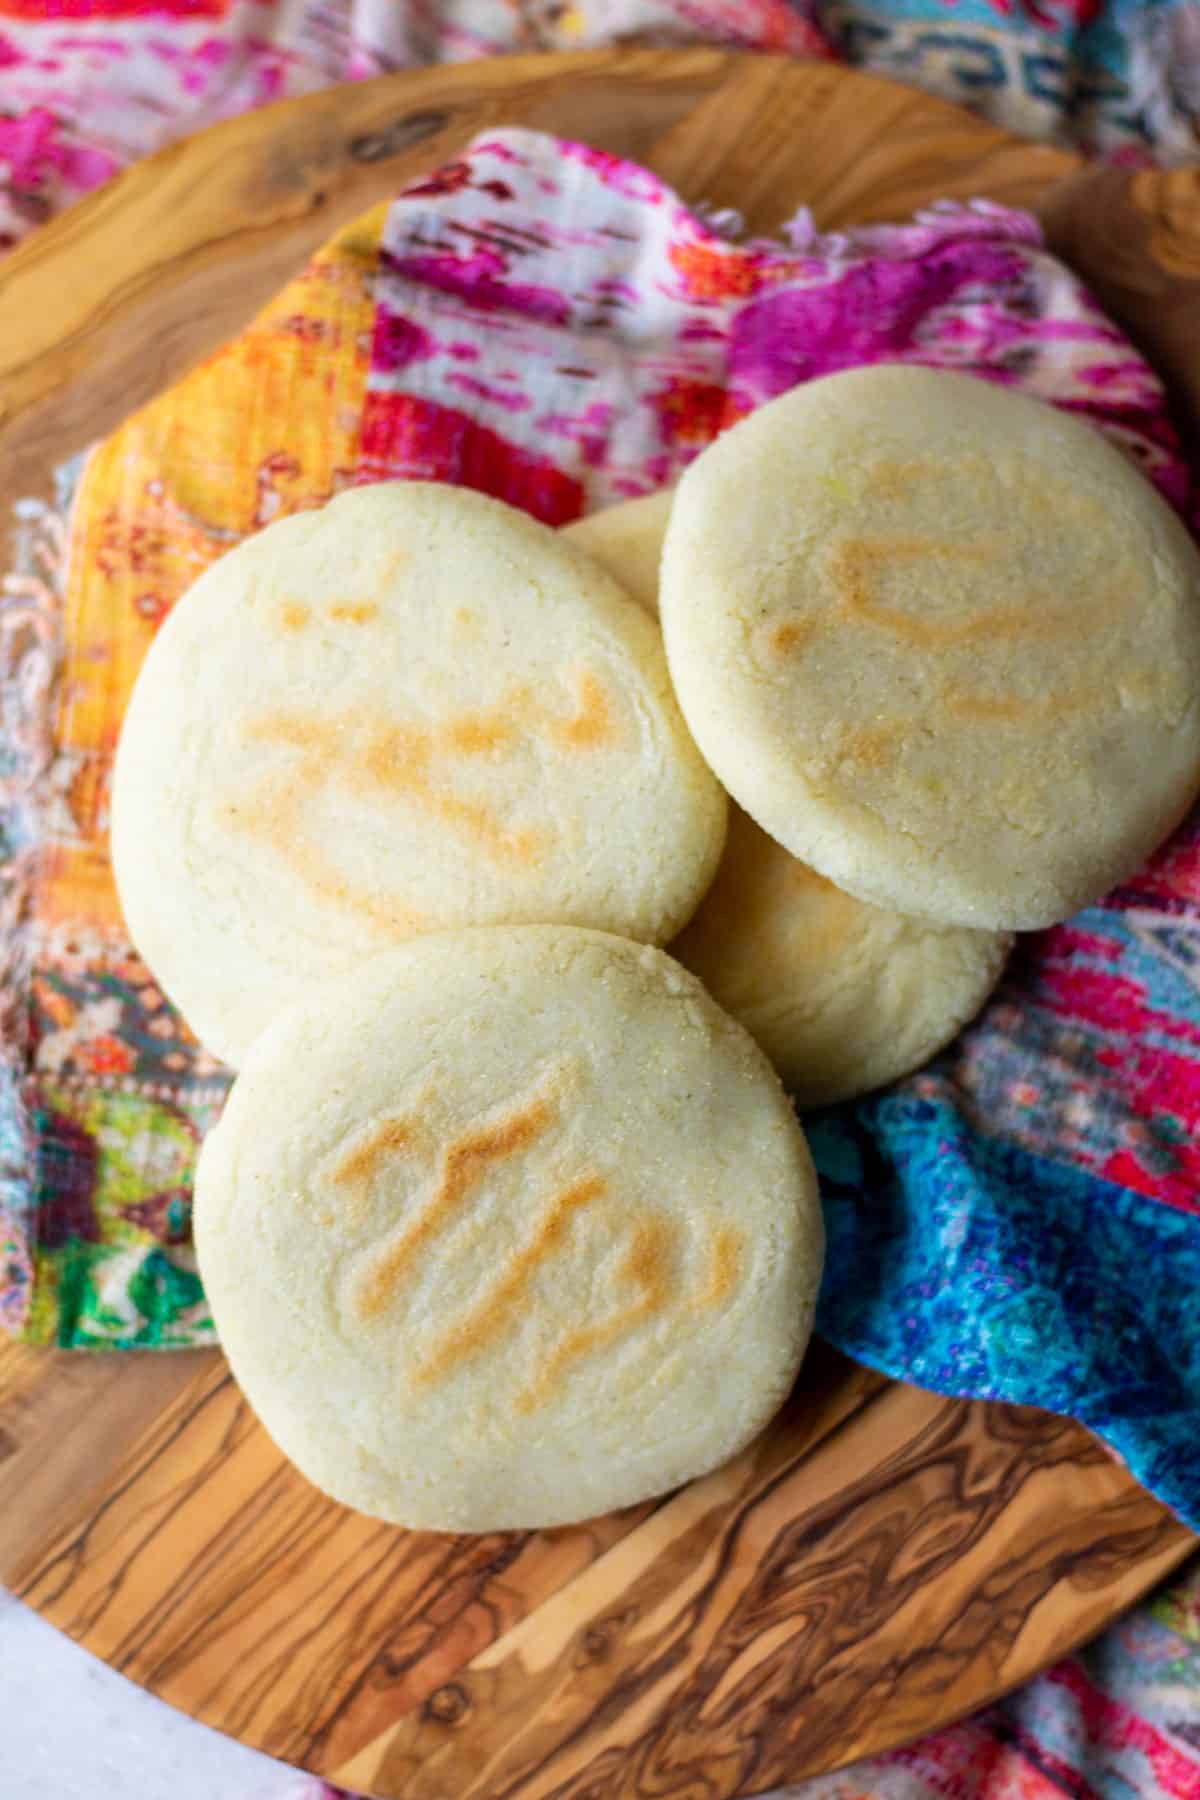
This is what cooked, uncut, unstuffed arepas look like.

Three arepas filled with (top to bottom): chickpea avocado salad, seasoned black beans, guasacaca-marinated baked tofu slices. Served with a Venezuelan cilantro sauce.
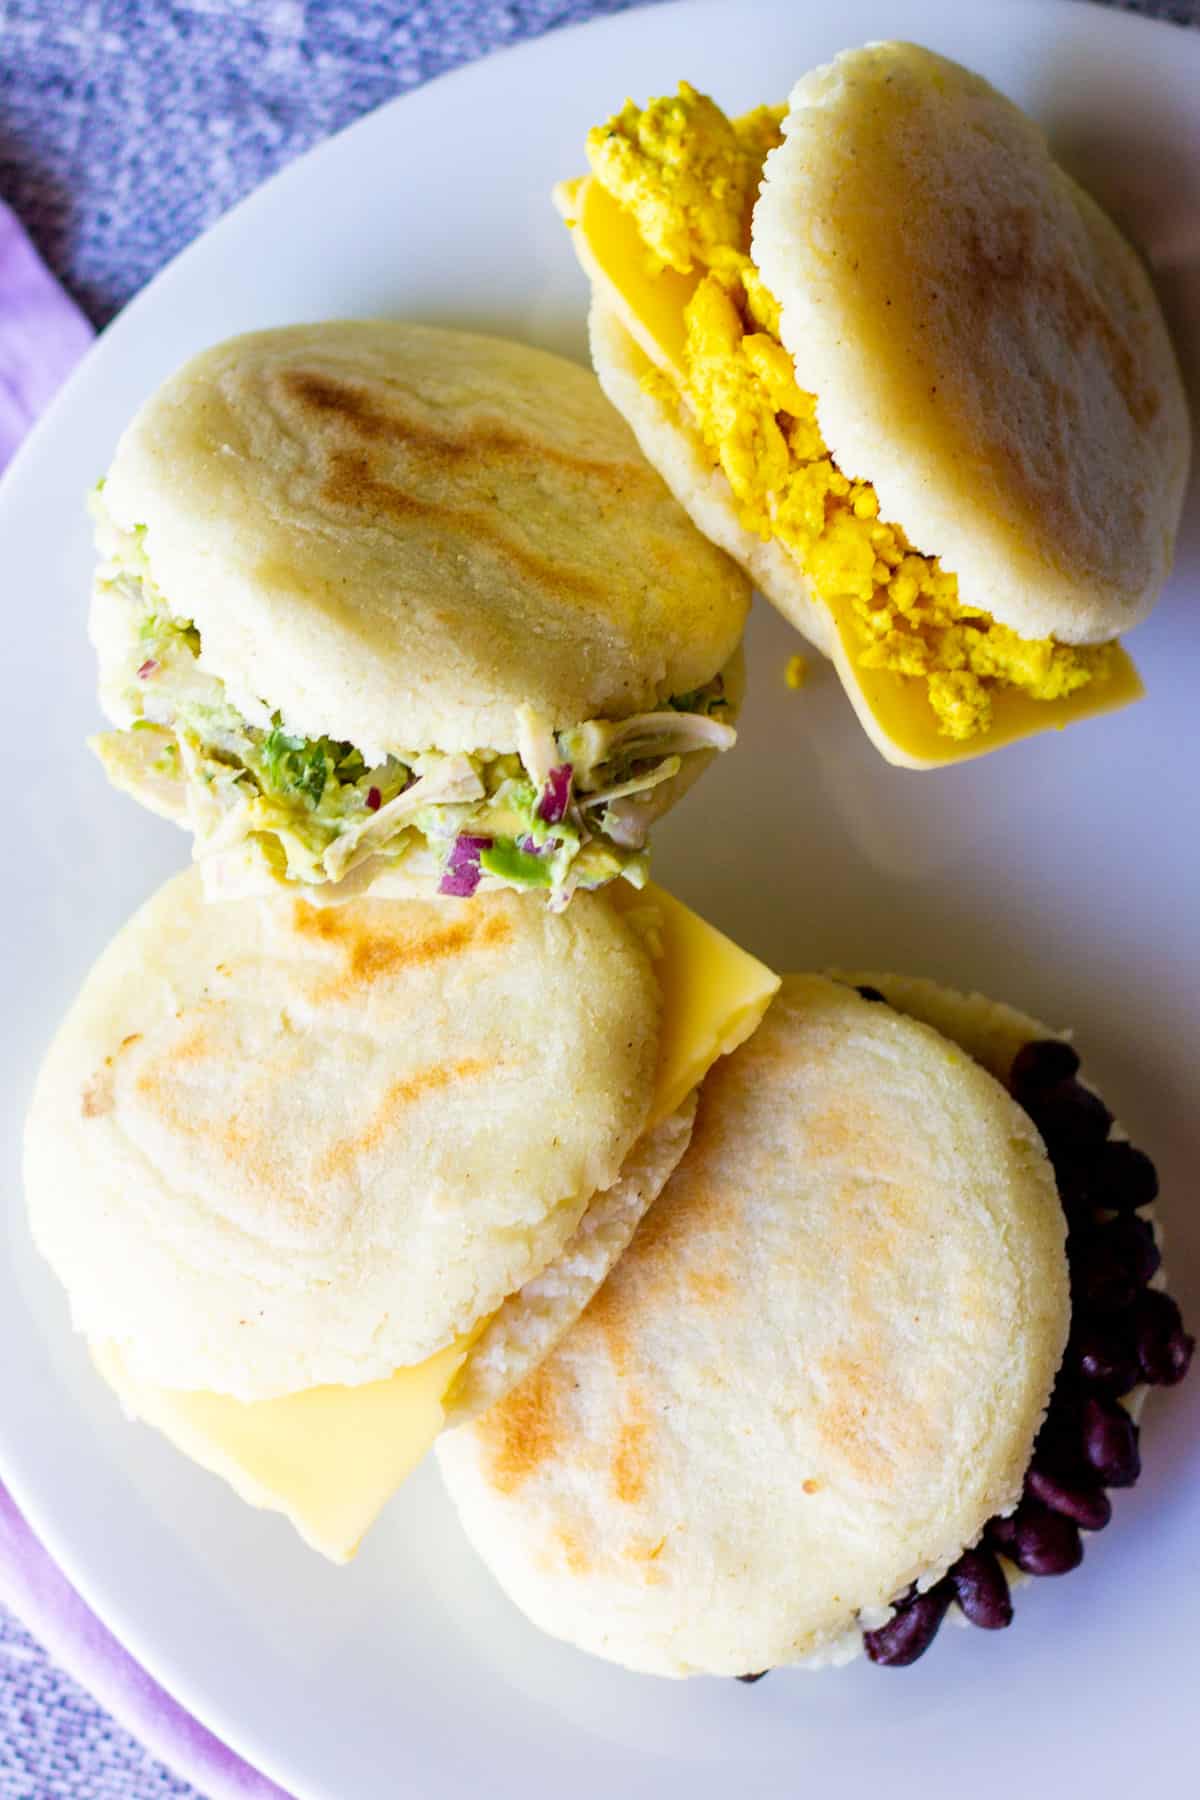
Four arepas filled with (top to bottom): tofu scramble and vegan cheese, jackfruit avocado salad, sliced vegan cheese, seasoned black beans.
🧯 Food safety
- Wash hands with soap and water before cooking
- Don't leave food sitting out at room temperature for extended periods, refrigerate any leftover arepa dough.
- Never leave cooking food unattended
- Always have good ventilation when using a gas stove
See more guidelines at USDA.gov.
🍳 Equipment
- Large, flat skillet or non-stick pan or comal - I've used a cast iron griddle, cast iron pan and non-stick skillet to make these. No oil is needed. As long as you allow them to cook and form a crust, they will release without sticking.
- Spatula - for flipping the arepas
- Measuring cup or kitchen scale - for measuring the flour, water and salt
- Large bowl - for mixing and kneading the arepa dough
🥡 Make ahead and storage tips
Arepas are best made and served fresh, not made ahead of time. It is a big no-no in Venezuelan culture, according to our friend Alfonso, to eat leftover arepas the next day. Only make as many as you will eat in that sitting.
It is acceptable in Venezuelan culture to wrap any remaining uncooked arepa dough in plastic wrap and store in the refrigerator. Then, the next day, pull it out, knead a few times and add water, if needed to soften it. Then, shape and cook your arepas fresh the next day.
Some arepa fillings can be stored in the refrigerator and maintain their quality, so you can make those ahead and have them ready.
Traditional Venezuelan arepa fillings
What do they stuff arepas with in Venezuela? The options for arepa fillings are endless, much like sandwich options are endless.
Here's a list of some popular arepa fillings, along with ideas for vegan options to substitute them with!
- Reina Pepiada (chicken and avocado salad) - thought to be named after a curvy Venezuelan beauty queen, reina pepiada (literally translated "curvy queen") is a cold chicken salad with mayo and avocado. It may also have other seasonings or additions, such as onion, cilantro, even green peas.
- Vegan option: Jackfruit avocado salad seasoned with vegan mayo, salt, pepper, cilantro, purple onion
- Arepa con queso (butter and cheese) - butter is slathered on the inside of the hot sliced arepa, then stuffed with shredded or sliced white cheese.
- Vegan option: dairy-free butter and vegan shredded or sliced cheese, such as Chao brand
- Egg and cheese - scrambled or fried egg with cheese and butter
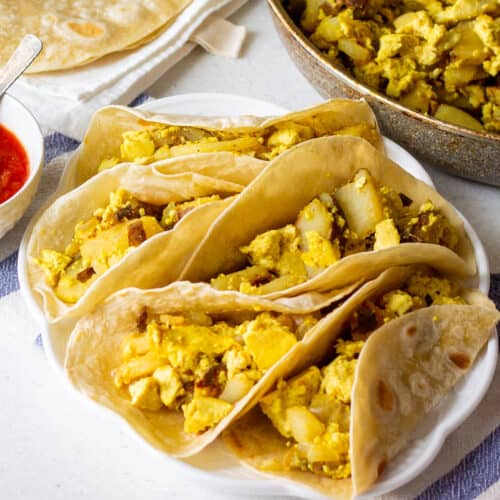
- Vegan option - tofu scramble with vegan cheese
- Dominó (black beans and cheese) - stewed or seasoned black beans and shredded white cheese (the black and white looks like dominoes)
- Vegan option: seasoned black beans and shredded vegan cheese
- Atún (tuna salad) - flaked canned tuna or tuna salad with mayo
- Vegan option: chickpea "tuna" salad with vegan mayo, relish, mustard, celery, white onion, salt and pepper or vegan ceviche with heart of palm and avocado
- Pabellón criollo (stewed shredded beef) - stewed shredded tender beef
- Vegan option: Jackfruit or soy curl stewed pabellón criollo
🚦 Calorie density score
🟡 This recipe gets a yellow light on the calorie density chart. One of the ingredients (the PAN masarepa corn flour) is higher than 600 calories per pound, so eating richer meals like this regularly may prevent you from losing body fat or may even cause you to gain weight.
Prepared arepa dough is about 780 calories per pound, slightly higher than an avocado's calorie density, though arepa dough is fat-free. Arepas which are fried instead of pan-seared in a dry skillet will be much higher in calories. Learn more about calorie density from Jeff Novick, MS, RDN.
Get your own printable calorie density chart for your refrigerator and free ebook explaining calorie density in simple terms.
👨👩👦👦 Serving suggestions
What is good to serve with arepas?
Venezuelan arepas are typically served with guasacaca, a blended cilantro sauce. They are also delicious with cilantro jalapeño lime crema, though not traditional (Venezuelan food is not typically spicy).
They are a filling meal by themselves, but can be paired with sides, such as:
- rice and beans
- baked or fried plantains
- fresh tropical fruit
- chips
- fresh green salad
❓ FAQ
Yes, arepas themselves are vegan and plant-based, because they are made with corn flour, water, salt and sometimes oil. However, the filling may not be vegan. Traditional arepa fillings contain dairy, butter, cheese and/or meat.
Yes, arepas by themselves are dairy-free. The arepa dough has no dairy in it. However, the arepa may have butter or cheese added to it after it is cooked, which does contain dairy. So, ask for your arepa to be filled with dairy-free options, like beans or guacamole and no butter to be added.
If the filling inside the arepas is vegetarian, then yes, they are. But, many traditional arepas are filled with meat, such as chicken, beef, ham or seafood. Ask for a vegetarian arepa filling, such as beans, avocado, cheese or vegan alternatives.
🗺 Cultural influences
Arepas are to the people of Venezuela what sliced bread is to the people of America (and many other countries). It's a staple food, one you eat almost every day.
I'm grateful to my Venezuelan friends Alfonso, Daniel and Masu for teaching me how to make this delicious dish. Below is a picture of Daniel David Vargas Rengifo, who is from Venezuela, and his wife Yiselis Vargas, who is from Cuba, making arepas in my kitchen.
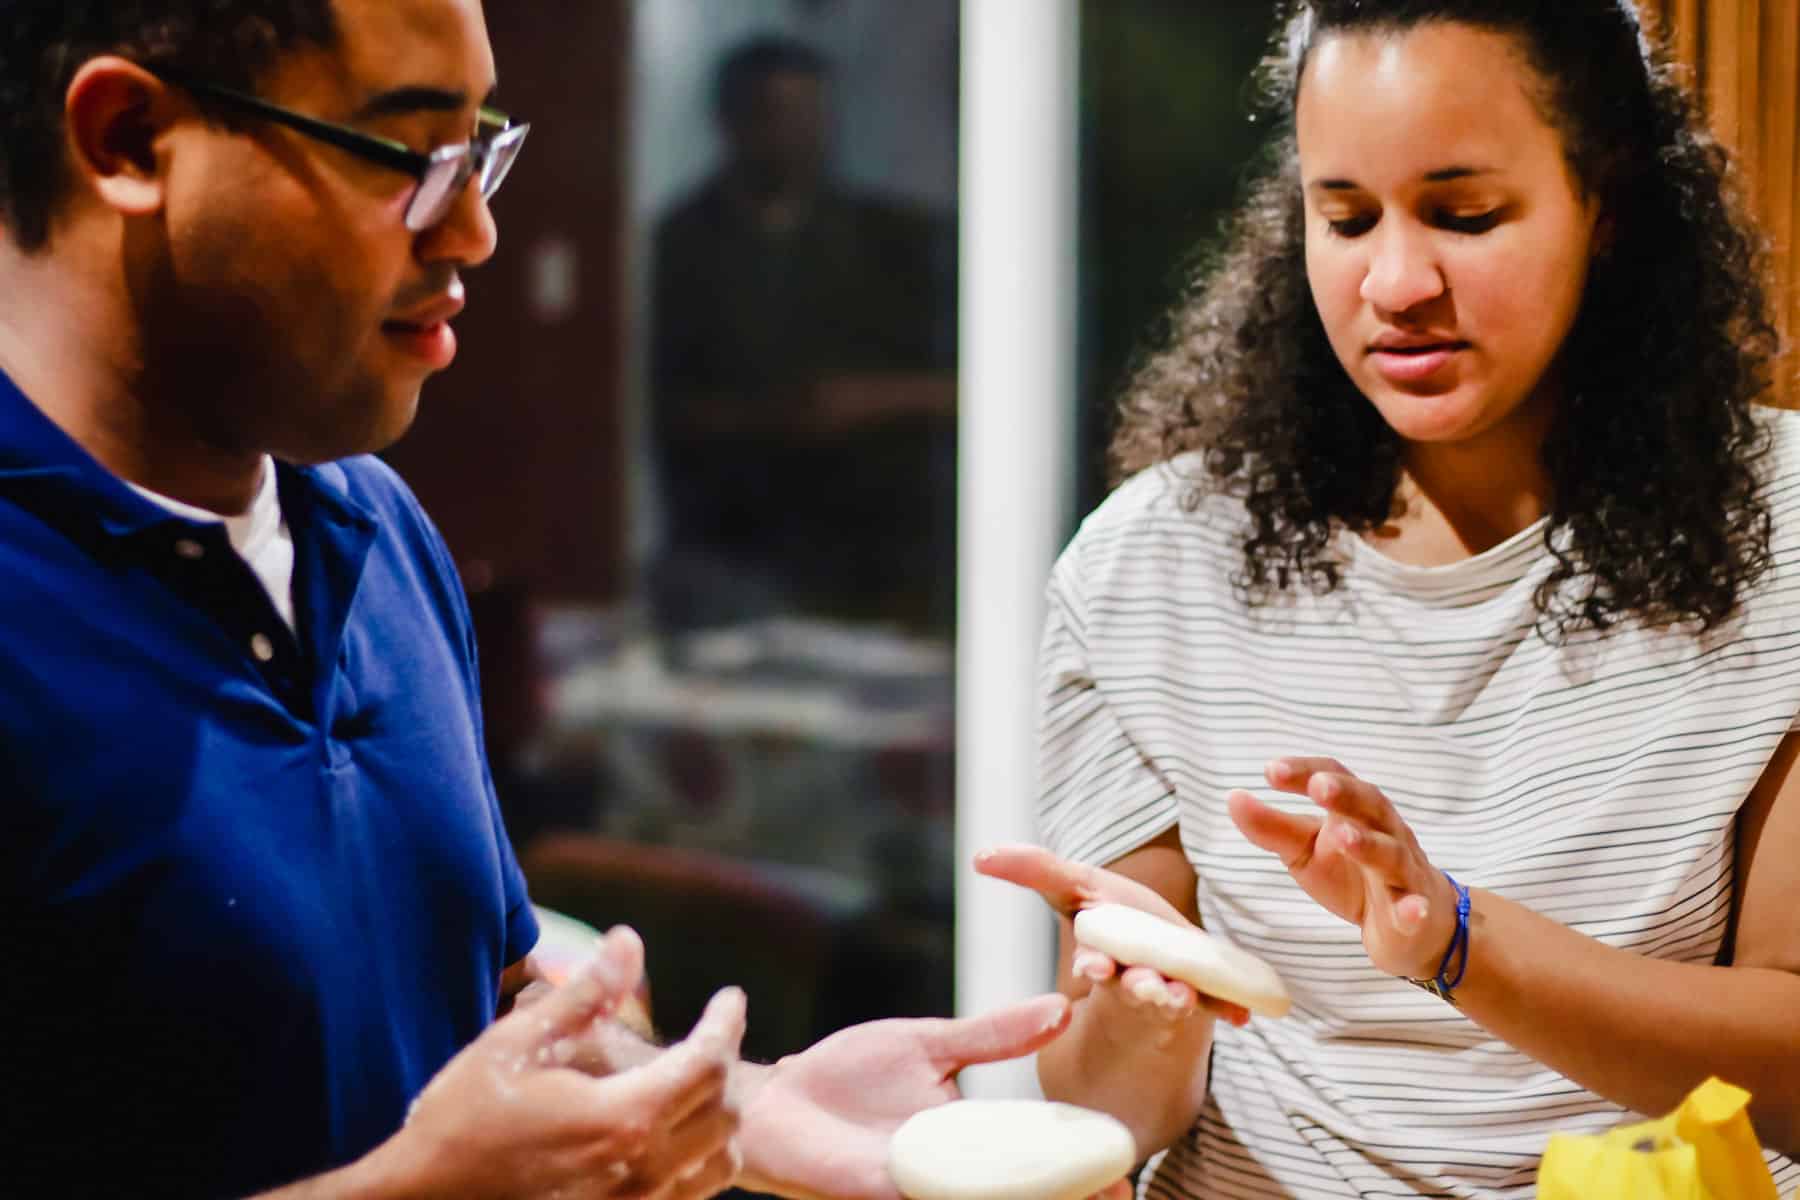
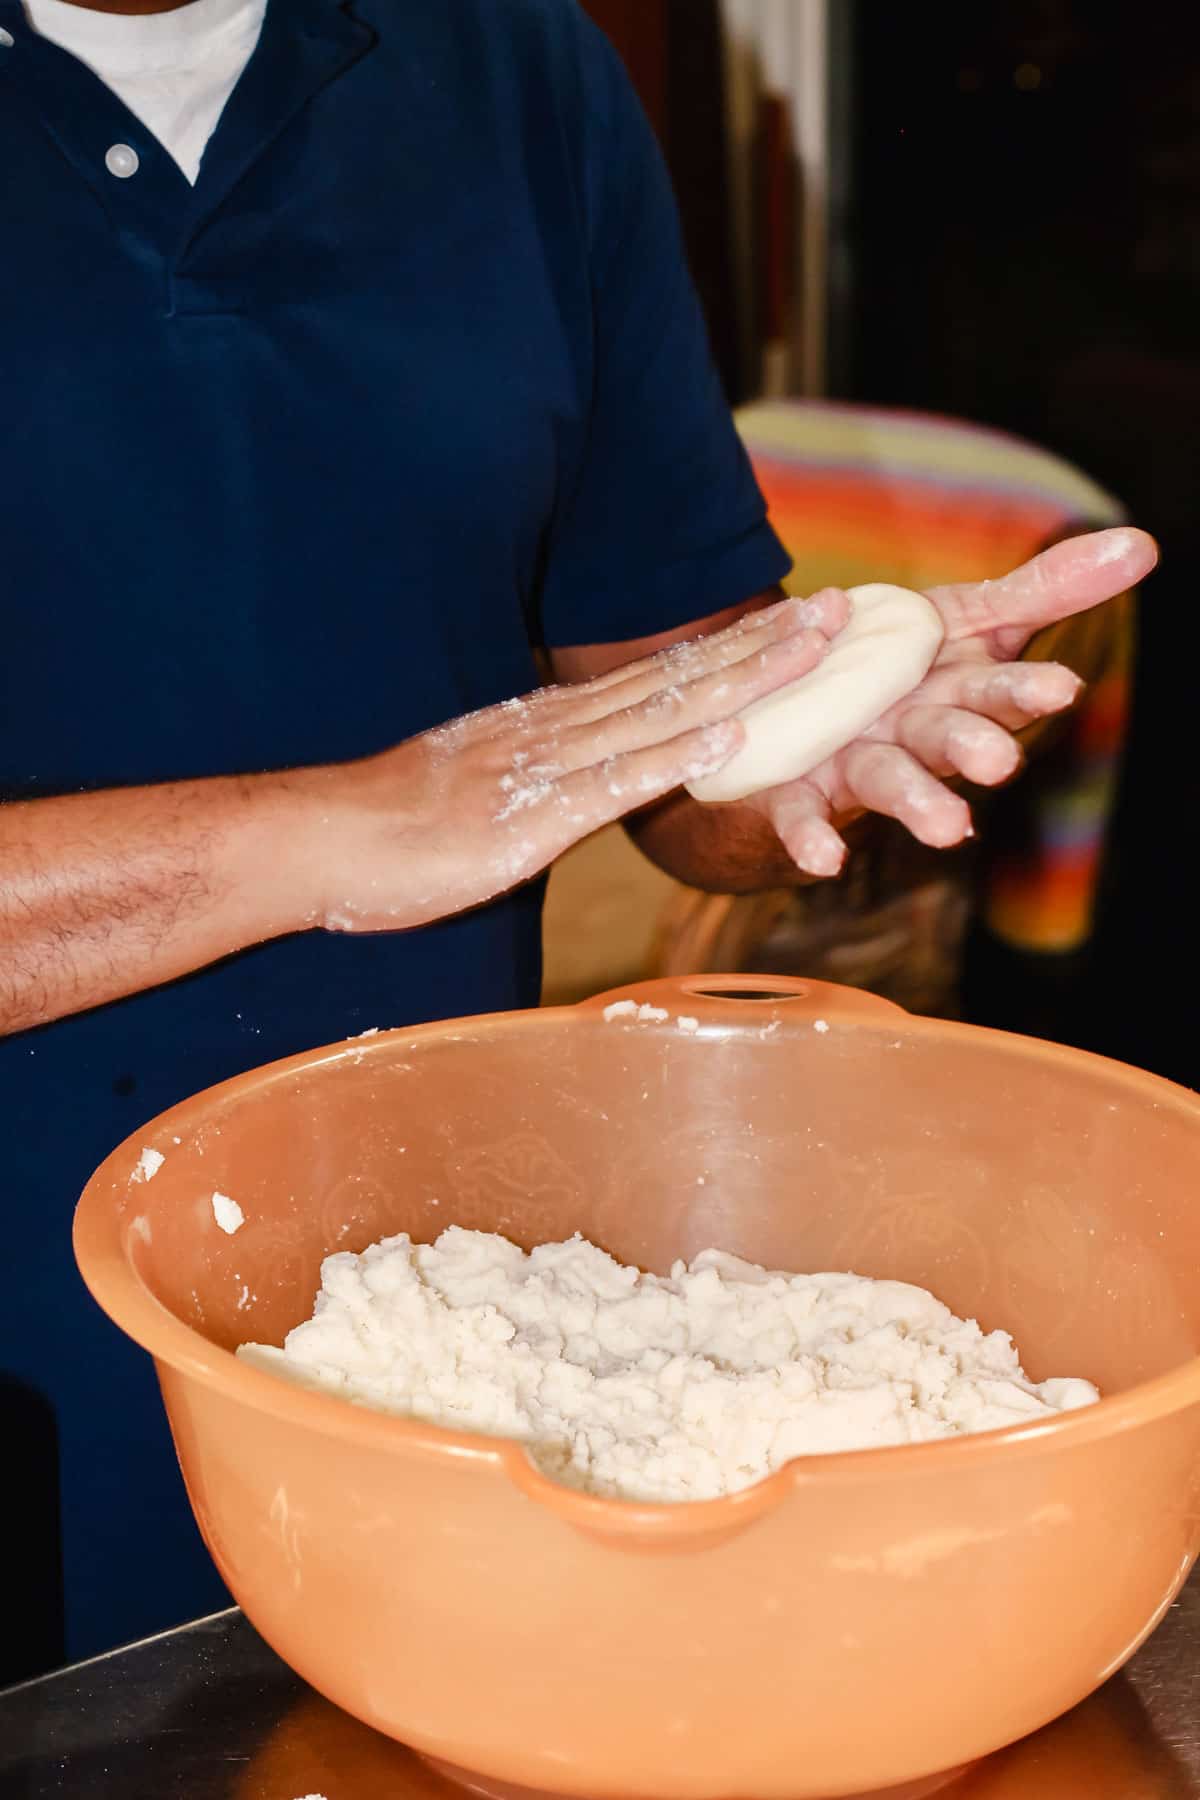
They're from Venezuela, not Minnesota.
(That's for all my Venezuelan buddies, who constantly get asked if they said Minnesota, not Venezuela.)
See About for more information on my cultural influences and how I attribute recipes.
💜 More recipes you'll love
If you love this Arepas Venezolanas recipe, check out these other Latin American-inspired plant-based recipes!
Love this recipe? Please rate it 5 stars ⭐️⭐️⭐️⭐️⭐️ below in the recipe card. And, if you make it, please tag me on Instagram or Facebook in your posted photos! I would love to see your creations. 😄
📖 Recipe

Venezuelan Arepas, Easy 1-Ingredient Recipe
Equipment
- Mixing bowl
- Flat wide skillet or comal
Ingredients
- 2 cups PAN masarepa harina pan 285g
- ¾ teaspoon sea salt 2.5g
- 2 cups water 457g
Instructions
- In a large mixing bowl, mix PAN masarepa flour and the salt with your fingers.2 cups PAN masarepa harina pan, ¾ teaspoon sea salt
- Pour water into mixing bowl and mix the dough together with your hands until it is well mixed and no dry flour is visible.2 cups water
- Knead the dough for 3 minutes with your hands to fully incorporate the water and allow the masarepa to absorb the water. Check to see if the dough is good by rolling a handful of dough into a ball and then make an impression with a finger. The dough should be soft, moldable and doesn't crack where you made the impression. If it cracks, then the dough needs a little more water. Knead in a few tablespoons of water at a time until it is soft.
- Prepare a plate or flat surface where you can place your prepared arepa patties.
- Make your arepa patties by rolling a portion of dough into a ball about the size of a tennis ball in your hands. (See notes for precise weight measurements per arepa.) Then, gently press the ball a few times to flatten it. We want both sides of the arepa to be as flat as they can be so they come in contact with the pan to cook evenly. Then, lightly smooth the edges all the way around. If your arepa dough is cracking or not staying together when you try to shape your patty, it's too dry. Add the dough back to the bowl, add a little water and knead it all again to incorporate the water.
- Place shaped arepa patty on the plate and continue shaping the rest, until the dough is gone.
- Preheat your flat skillet over medium-low heat for 2 minutes. Place arepas in the pan, gently pressing them so they make contact with the bottom of the pan, leaving plenty of room to flip them. Don't crowd the pan. You may have to do this in more than one batch, depending on the width of your skillet.
- Cook arepas for about 5 minutes without moving them. Then, with a spatula, carefully lift the first arepa you added to see if its browning. If not, continue cooking and possibly increase the heat slightly. If it is golden brown on the bottom, flip the arepas, gently pressing them into the pan so they make contact with the surface of the hot pan.
- Cook another 5 minutes on this side. The arepas are done when they have golden brown to dark brown streaks, the outer layer of dough is crispy and they are very firm to the touch. They should be hot inside but still soft and doughy in the middle.
- If you are making a large batch of arepas and want to keep them warm while you prepare the rest, then heat your oven to 200℉ and place the arepas on a baking sheet in the oven while you finish cooking.
- To fill the arepas, use a clean kitchen towel or pot holder to hold the hot arepa. Then, with a long, sharp knife, cut the arepa ⅔ of the way through to form an open pocket. Stuff with your favorite filling and serve immediately!


Comments
No Comments